In this article:
There are a number of reasons why you might want to transfer ownership of a project from one account to another.
Maybe you began working on a project within your own, free account. Then, you convinced your boss to subscribe to a Moqups paid plan. Now, to take advantage of that paid plan’s features, you wish to transfer your project to the company account.
Perhaps you want to move a personal project to a Team Account, or vice-versa. Or, as your project has evolved, you may now want to transfer ownership from one team to another.
The transfer process is simple and quick – no matter whether you’re the one transferring the project or taking ownership of it.
In this article, we’ll cover how to initiate a transfer, how to accept or reject ownership, and how to cancel a transfer request that you initiated.
Transfer project between accounts
You can transfer projects between any two Moqups accounts.
If you are a member of a team within the account to which you’re transferring the project, you can further designate a team to receive it. If you are not a member of a team within that account, the transfer will go to the account in general.
Either way, the recipient can receive the project into the team you requested, or choose to add it to any one of their teams.
To transfer a project from one account to another:
- Navigate to the Projects Window of your Dashboard.
- Using the Team Switcher, choose the Team whose project you wish to transfer.
- Select the project and click on the More option to open the dropdown.
- Click Transfer to another account to open the Transfer Project Window.
- Transfer Project Window displays a suggested list of teams from other accounts.
- Select from the list, or type in the email attached to the recipient’s account.
- Click Some things to keep in mind and read the notes.
- Click I understand, send transfer request to initiate the transfer.
- The recipient receives an email with a link that opens the Incoming Projects filter tab in their own Projects Window.
Accept or reject transfer request
If you are the recipient of a transfer request, you will be notified by email. That email includes a link that opens directly in your Dashboard’s Project Window, and displays a new, additional Incoming Projects tab.
Take the following steps to either accept or reject the transfer.
-
Click on the Transfer Email Link
or
Select the Incoming Projects tab in the Projects Window of your Dashboard
-
The Incoming Projects tab lists all projects pending transfer.
-
To complete the process, click Accept or Reject to the right of a project’s title.
-
If you are on our Unlimited plan, and have multiple teams, you can also choose a team to receive the project.
Cancel transfer request
If the recipient of the transfer has not yet accepted your request, you can still cancel the transfer.
To cancel a transfer:
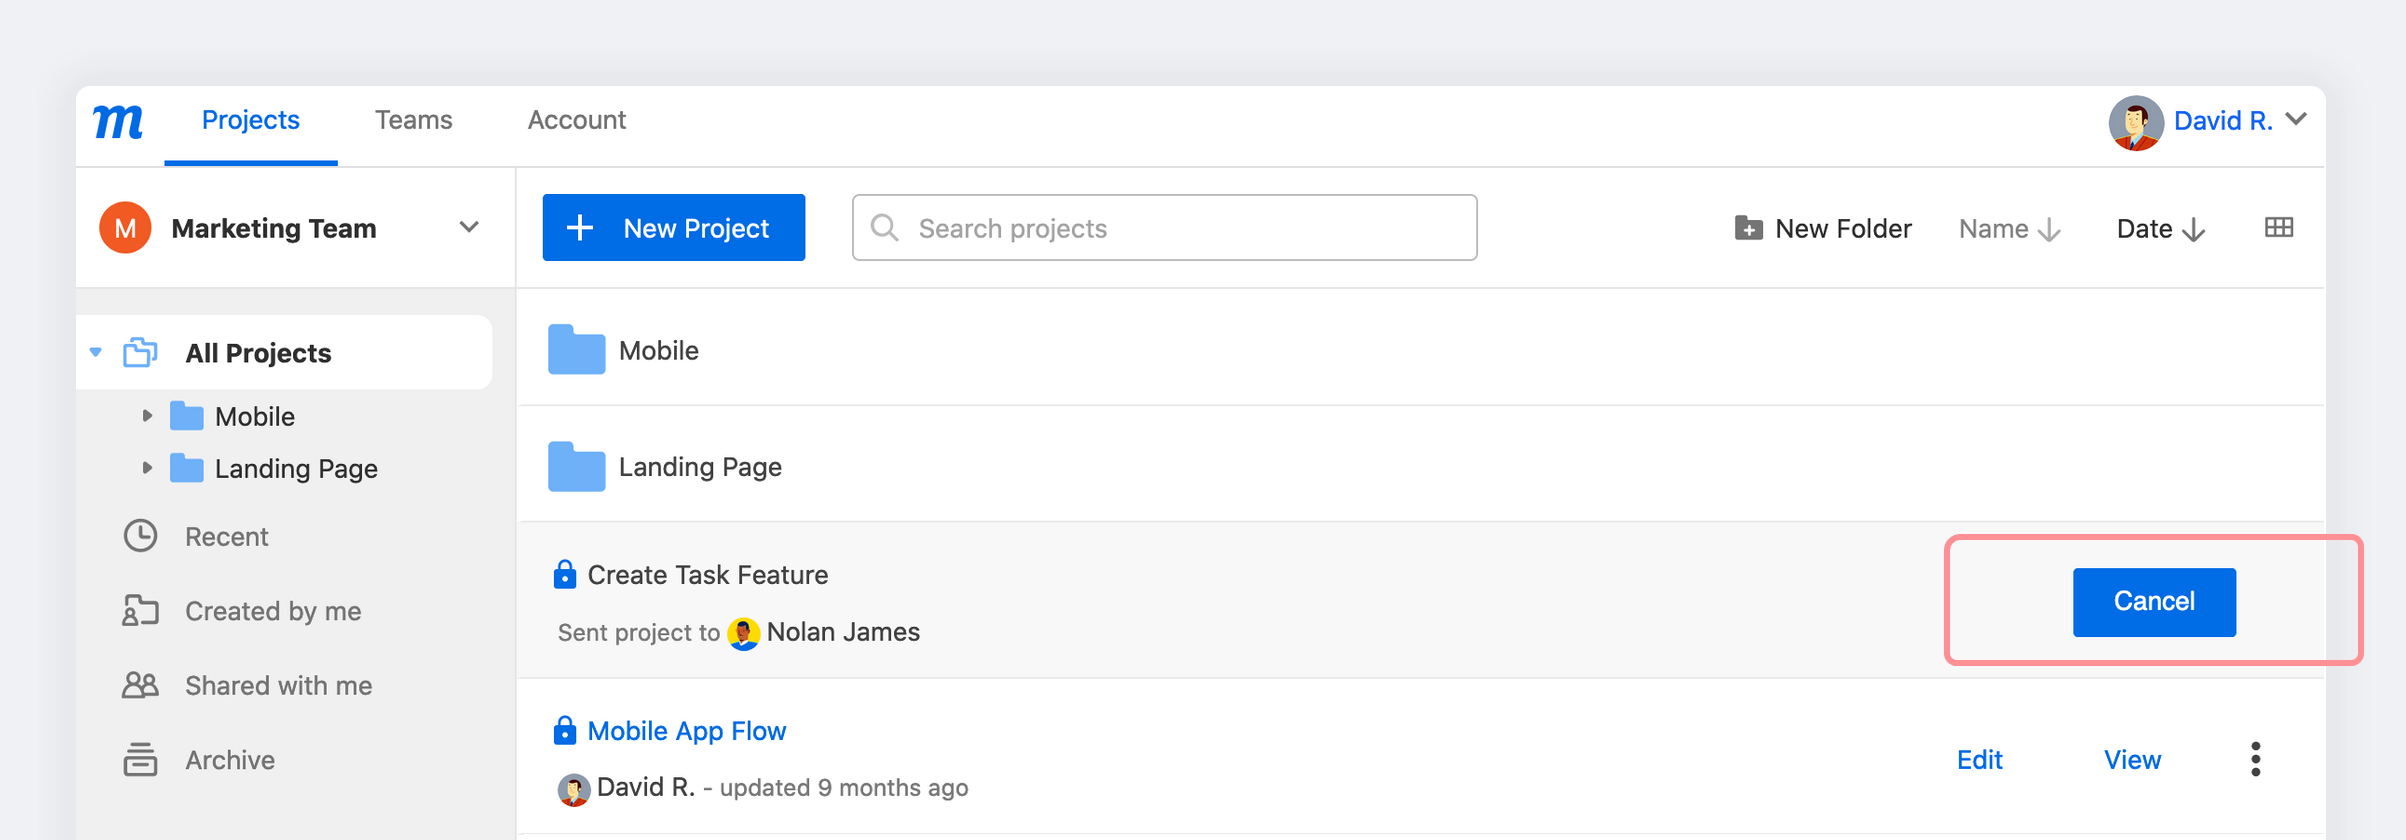
- Navigate to the Projects Window of your Dashboard.
- Using the Team Switcher and Project List, find the project whose transfer you wish to cancel.
- Click the Cancel button to the right of the project’s title.
- The original Transfer Request email will remain in the recipient’s Inbox – and the link will still take them to their Project Window – but the Incoming Projects tab will no longer be visible.
Questions and answers
Do I have access to a project once I’ve transferred it?
When a project is transferred from one account to another, the first account automatically loses access. However, the owner of the recipient account can easily restore access to the original owner by inviting them as either a team member or guest.
Will the Share Project Link still work after I have transferred project ownership?
Yes it will. The link itself won’t change on transfer.