In this article:
Projects can expand quickly in both size and scope. Organizing them helps your team eliminate confusion, reduce stress, and maintain momentum – especially if they are remote and distributed.
This article explores a variety of tools, all within the Pages Panel, that can help you and your team keep pages easy to find, use, and share.
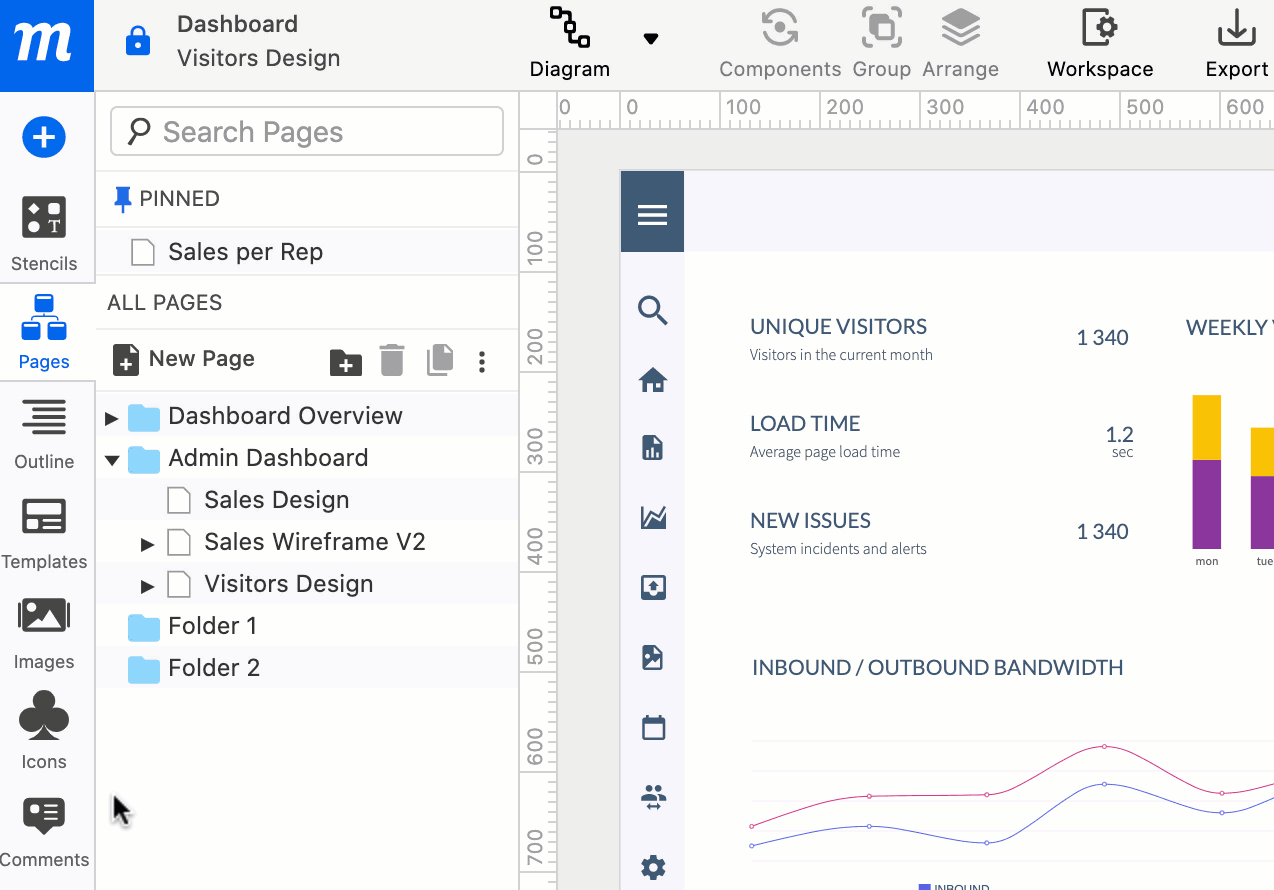
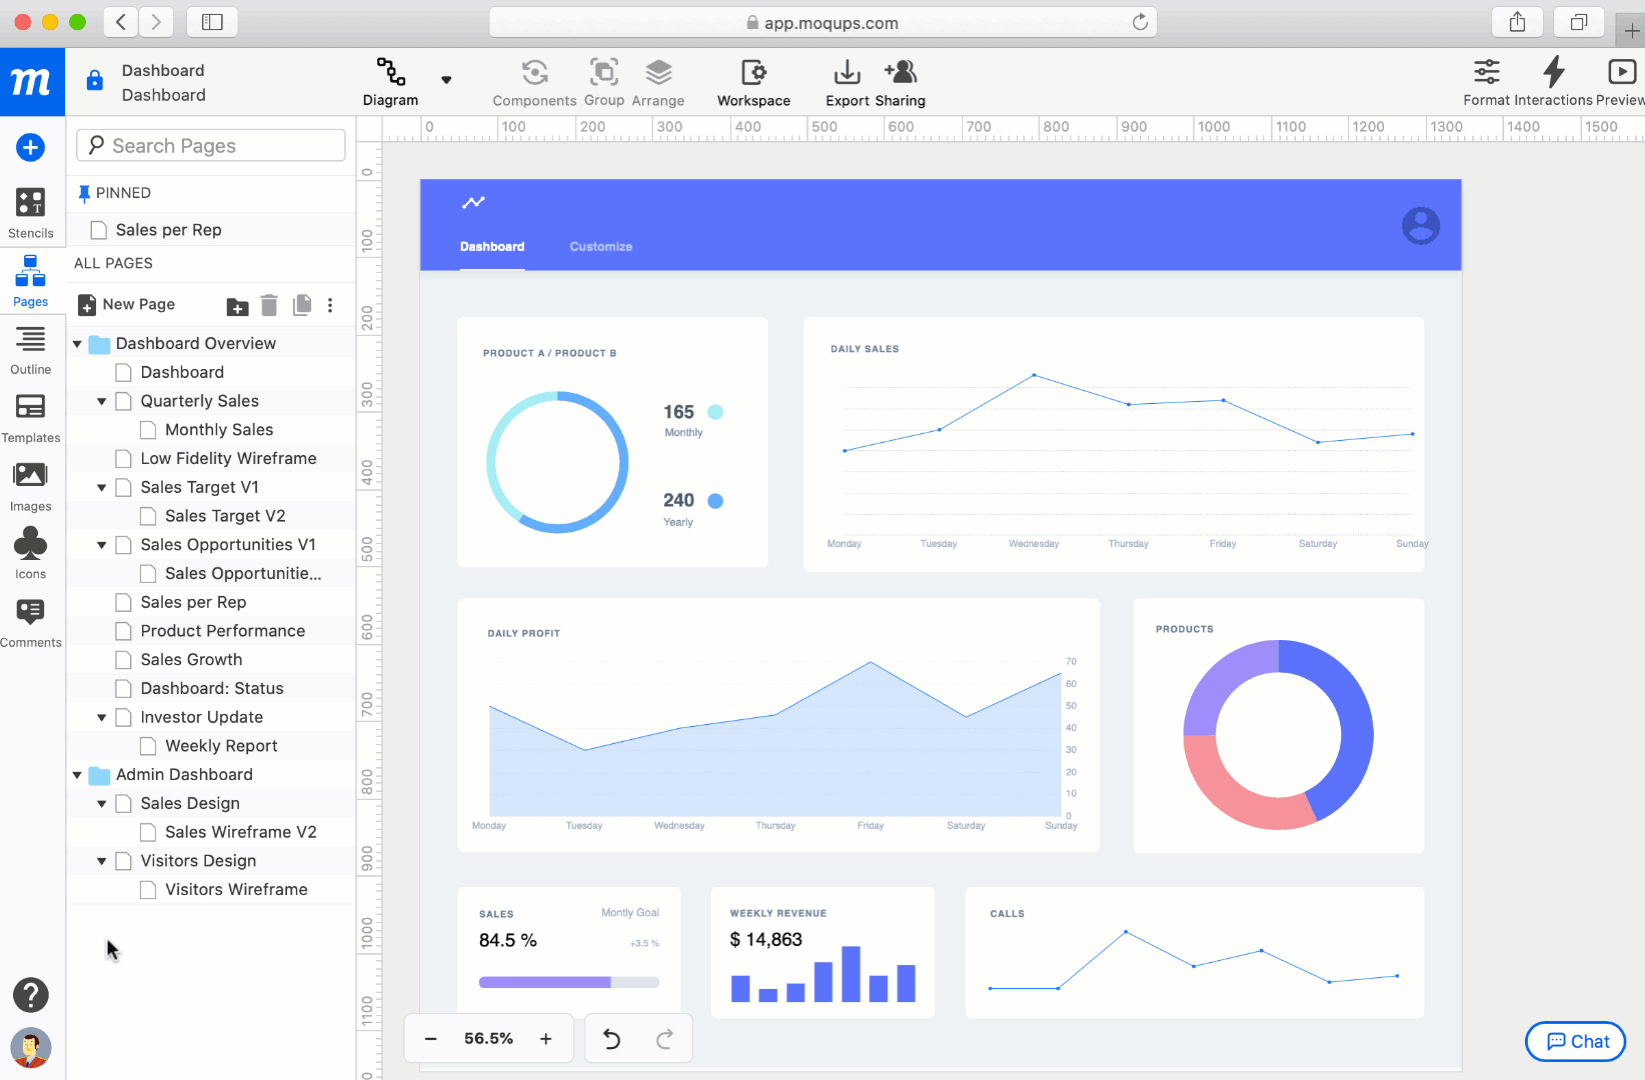
You can move, organize, and rearrange your pages by dragging them up and down the Page Tree, or into Folders you create.
Nest pages
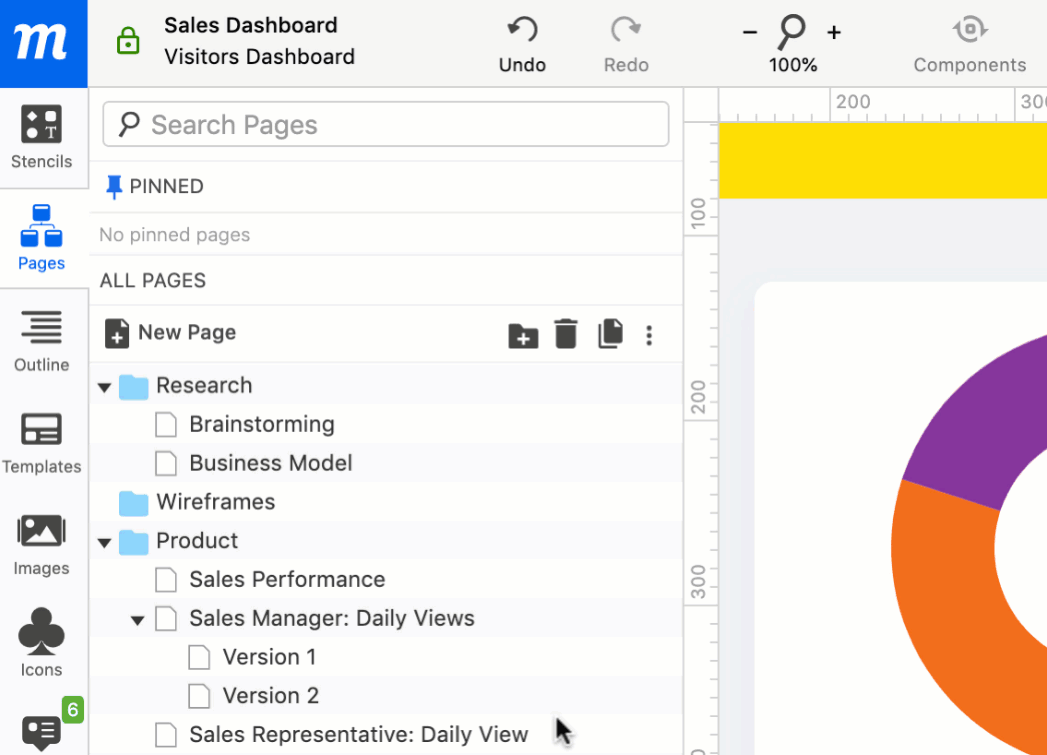
Nested pages work together with Folders to let you group relevant pages together within your Page Tree – creating a highly-structured and granular hierarchy that’s quick and easy to expand or collapse.
To nest a page, simply drag it onto the parent page. If you want to nest more than one page, drag it beneath your already nested pages.
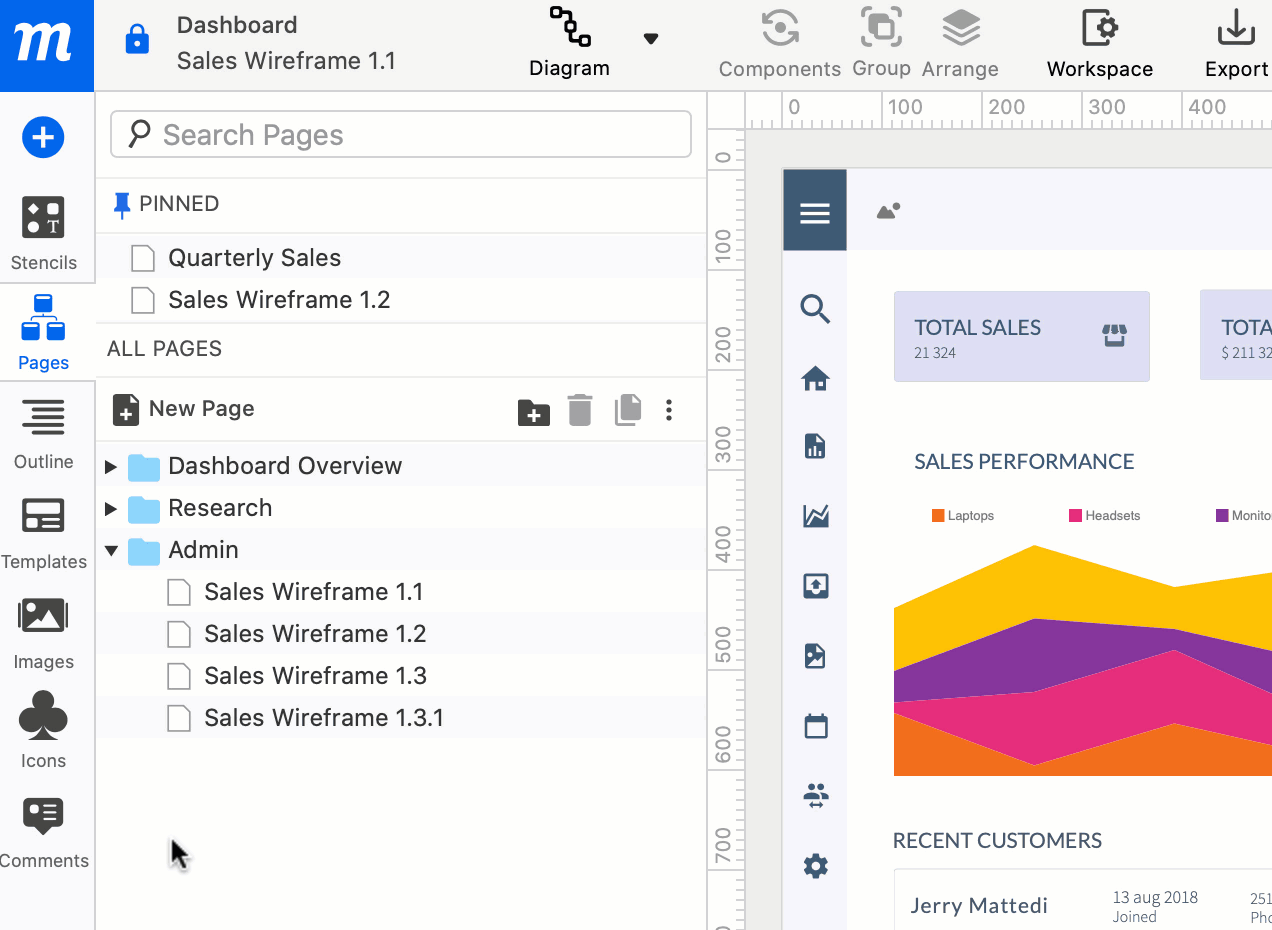
You can use nesting to keep different versions or variations of the same page together, or to bundle dependent artifacts – for instance a flowchart and related storyboards or wireframes.
And, when you export your project to PDF, your nested pages appear as a Table of Contents that reflects your project’s page structure – proving both a clear overview and easy navigation.
Create and manage page folders
The following folder actions are accessed and work the same as page actions.
Create New Folders
To add a new folder to your Page Tree:
Click the New folder button in the Pages Toolbar
or
Select the New folder option from either the More actions button, or the right-click Context Menu.
You can rearrange both pages and folders by dragging them up and down the list.
Name Folders
To name or rename a folder in the Pages Panel:
Double-click on the folder name in the Page Tree, edit the name, and hit Enter/Return.
or
Select the Rename option from either the More actions button, or the right-click Context Menu.
Add emojis to your folder names to make them easier to find (or just more fun)!
Duplicate Folders
To duplicate a folder and the pages within it:
Click the Duplicate selected items button in the Pages Toolbar.
or
Choose the Duplicate option from either the More actions button, or the right-click Context Menu.
Copy and Paste Folders
To copy and paste a folder and the pages within it:
- Select the folder you want to copy in the Page Tree of the Pages Panel.
- Choose the Copy Pages option from either the More actions button, or the right-click Context Menu.
- Navigate to the browser window or tab where the destination project is open.
- Click on the Pages Panel of the destination project.
- Choose the Paste Pages option from either the More actions button, or the right-click Context Menu.
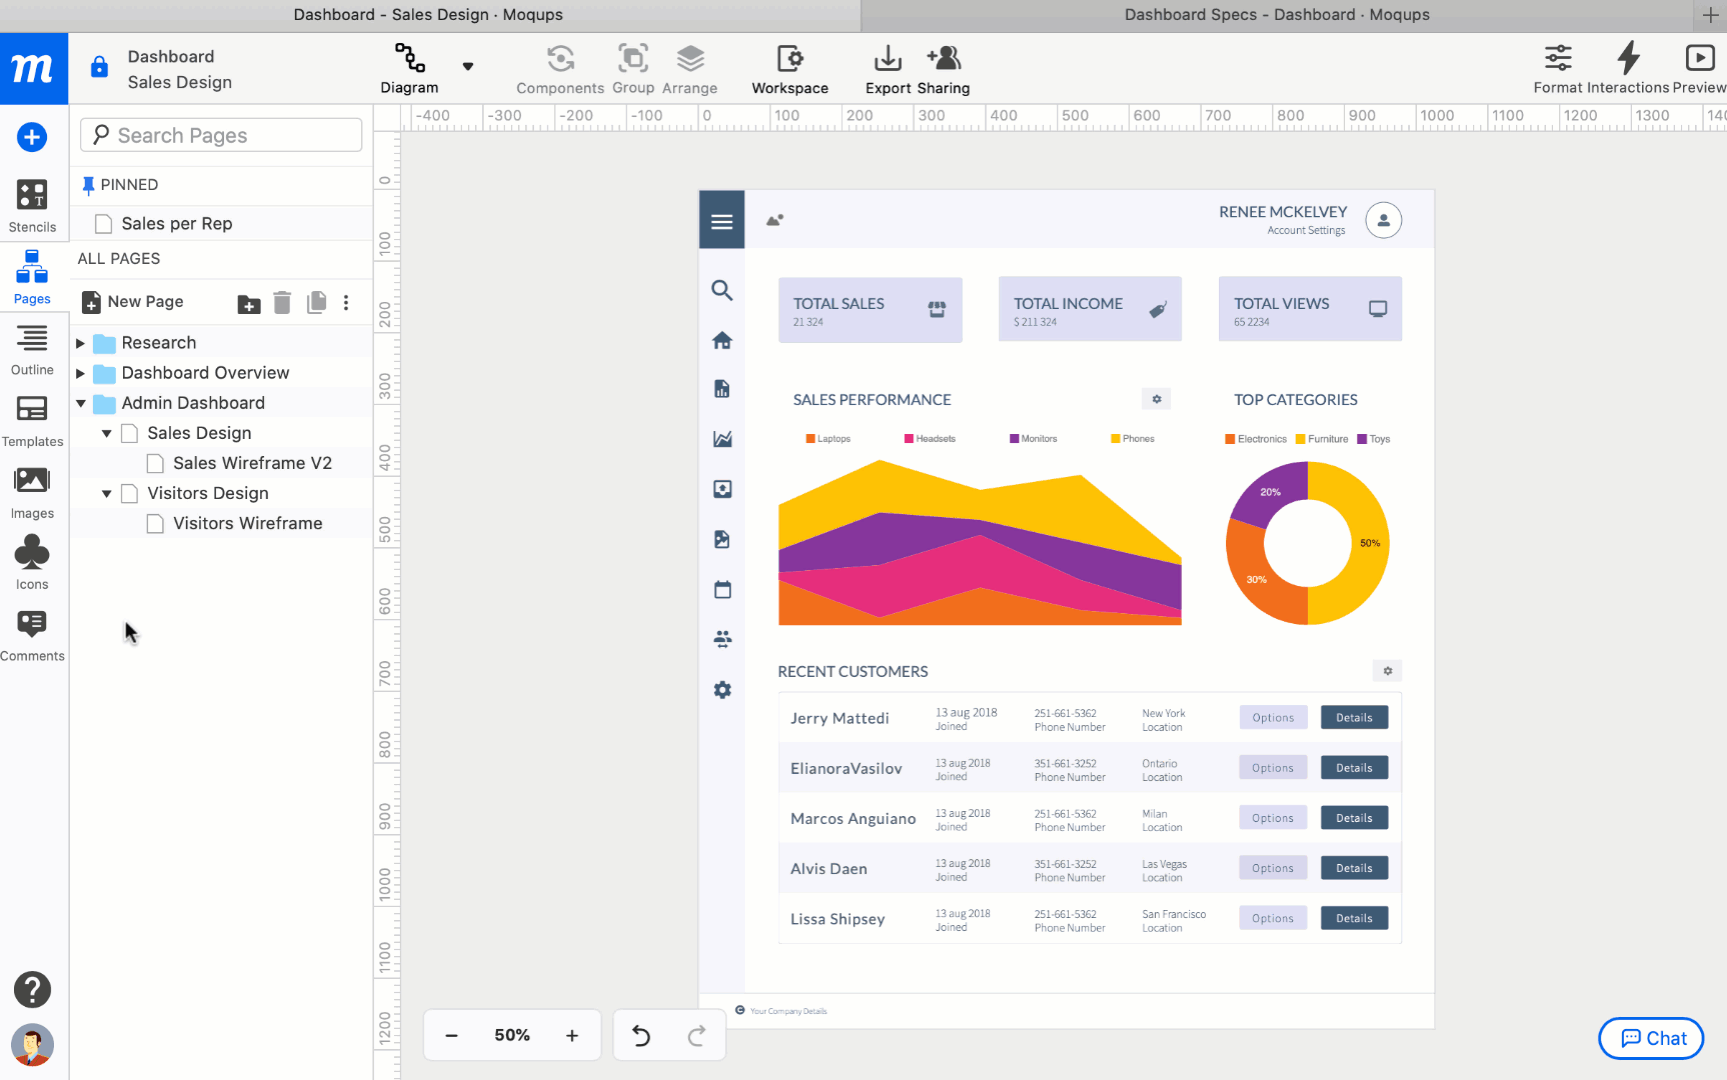
Search Pages and Folders
To search for a page or folder, type the name in the Search Pages box at the top of the Pages Panel. The search results will include folders as well as the pages within them.
Navigate Pages and Folders
Use Fn + Up/Down arrow keys of your keyboard to navigate up and down the Page Tree. Folders and nested pages will automatically toggle open as you navigate.
Bulk Operations
As you organize your Page Tree, you’re not limited to managing only one page or folder at a time. You can perform bulk operations on multiple items at once.
To select a sequential series of pages or folders, click the first item; then hold down Shift and click on the last item in the list.
To select multiple pages or folders, hold down the Cmd/Ctrl key, and click on individual items to choose them.
Trash, restore and permanently delete folders
Check out this article from our Pages section to learn how to use and view the Trash, and how to restore or permanently delete both pages and folders.
Create new from selection
Once you have selected one or more pages, you can use that selection to create a new folder, or an entirely new project.
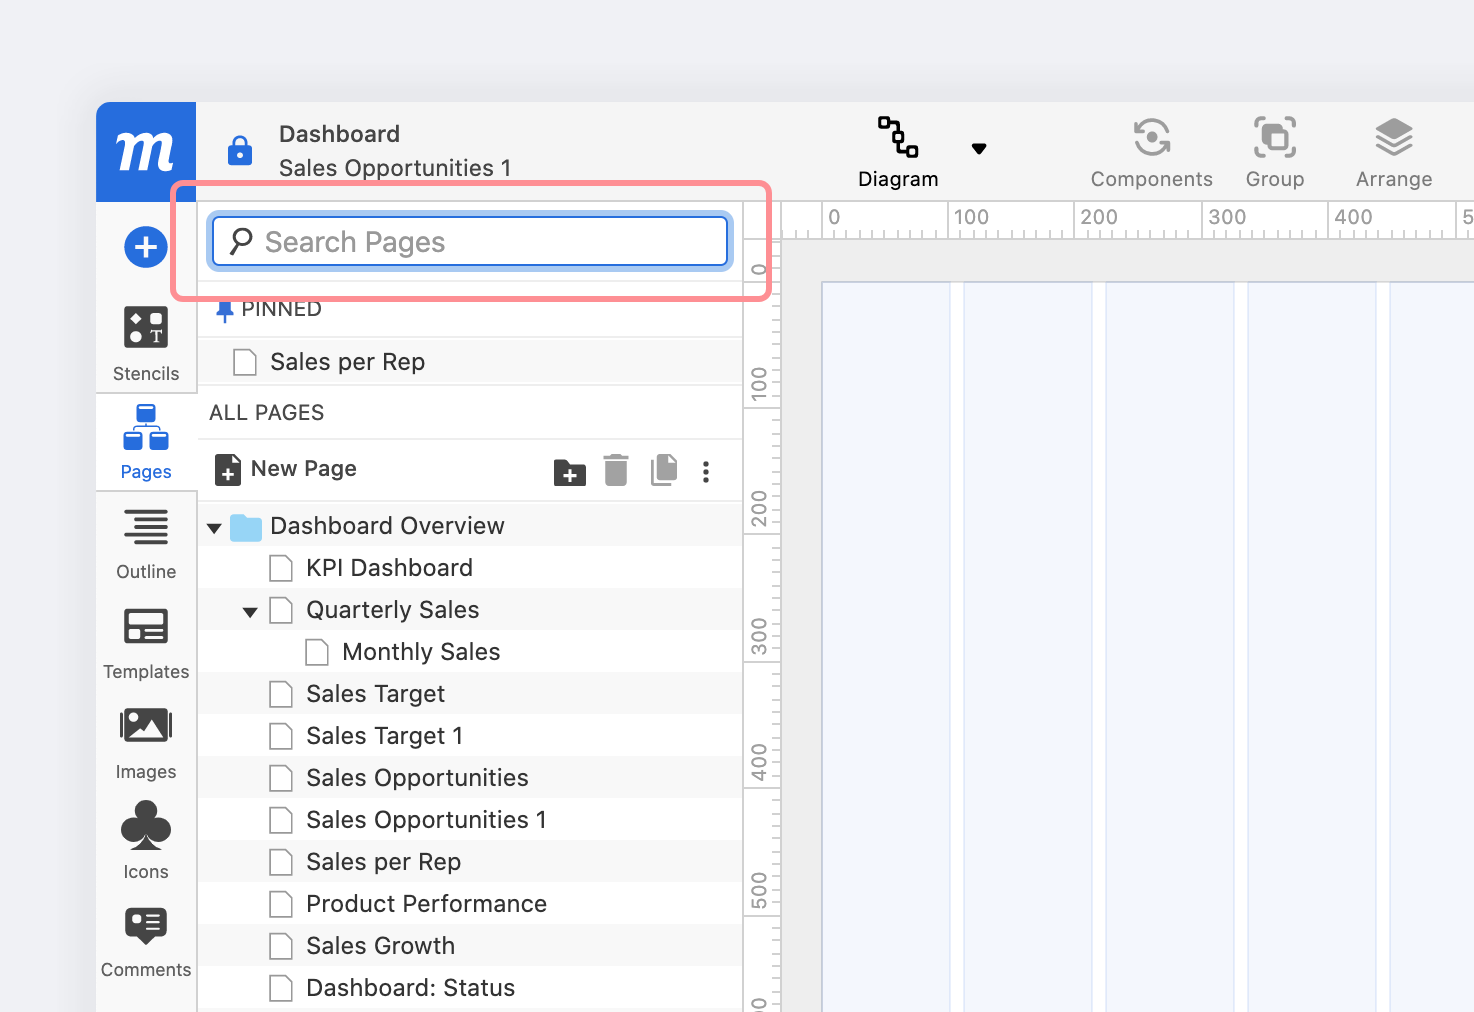
New Folder With Selection
This option creates a new folder containing the pages you’ve selected. It’s a great shortcut when you need to pull together multiple pages:
- Select one or more pages or folders.
- Choose the New folder with selection option from either the More actions button, or the right-click Context Menu.
New Project from Selection
Sometimes, as projects evolve, it’s helpful to break one or more pages away to create a new, completely separate project.
This can be especially useful if you want a dedicated team working on a small piece of a larger project – or simply because it can be more efficient to divide a single, unwieldy project into several, more focused initiatives.
This option creates a new project from the pages you’ve selected:
- Select one or more pages or folders.
- Choose the New project from selection option from either the More actions button, or the right-click Context Menu.
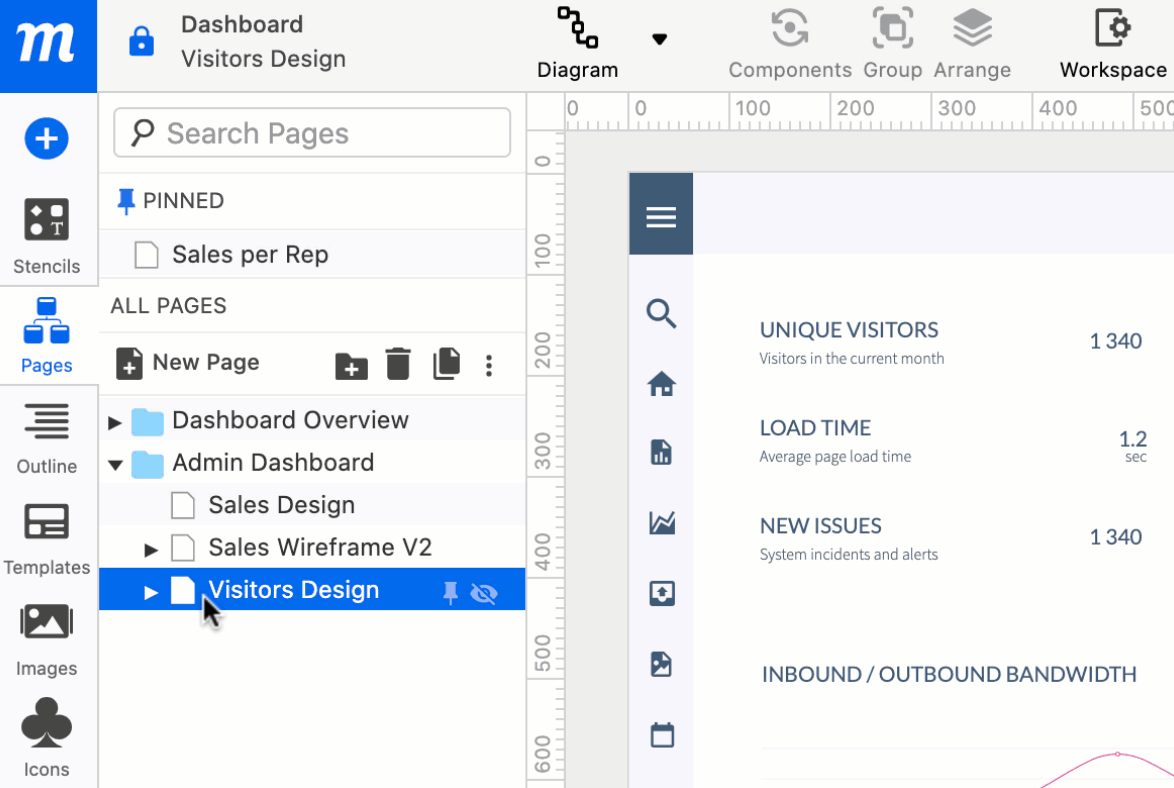
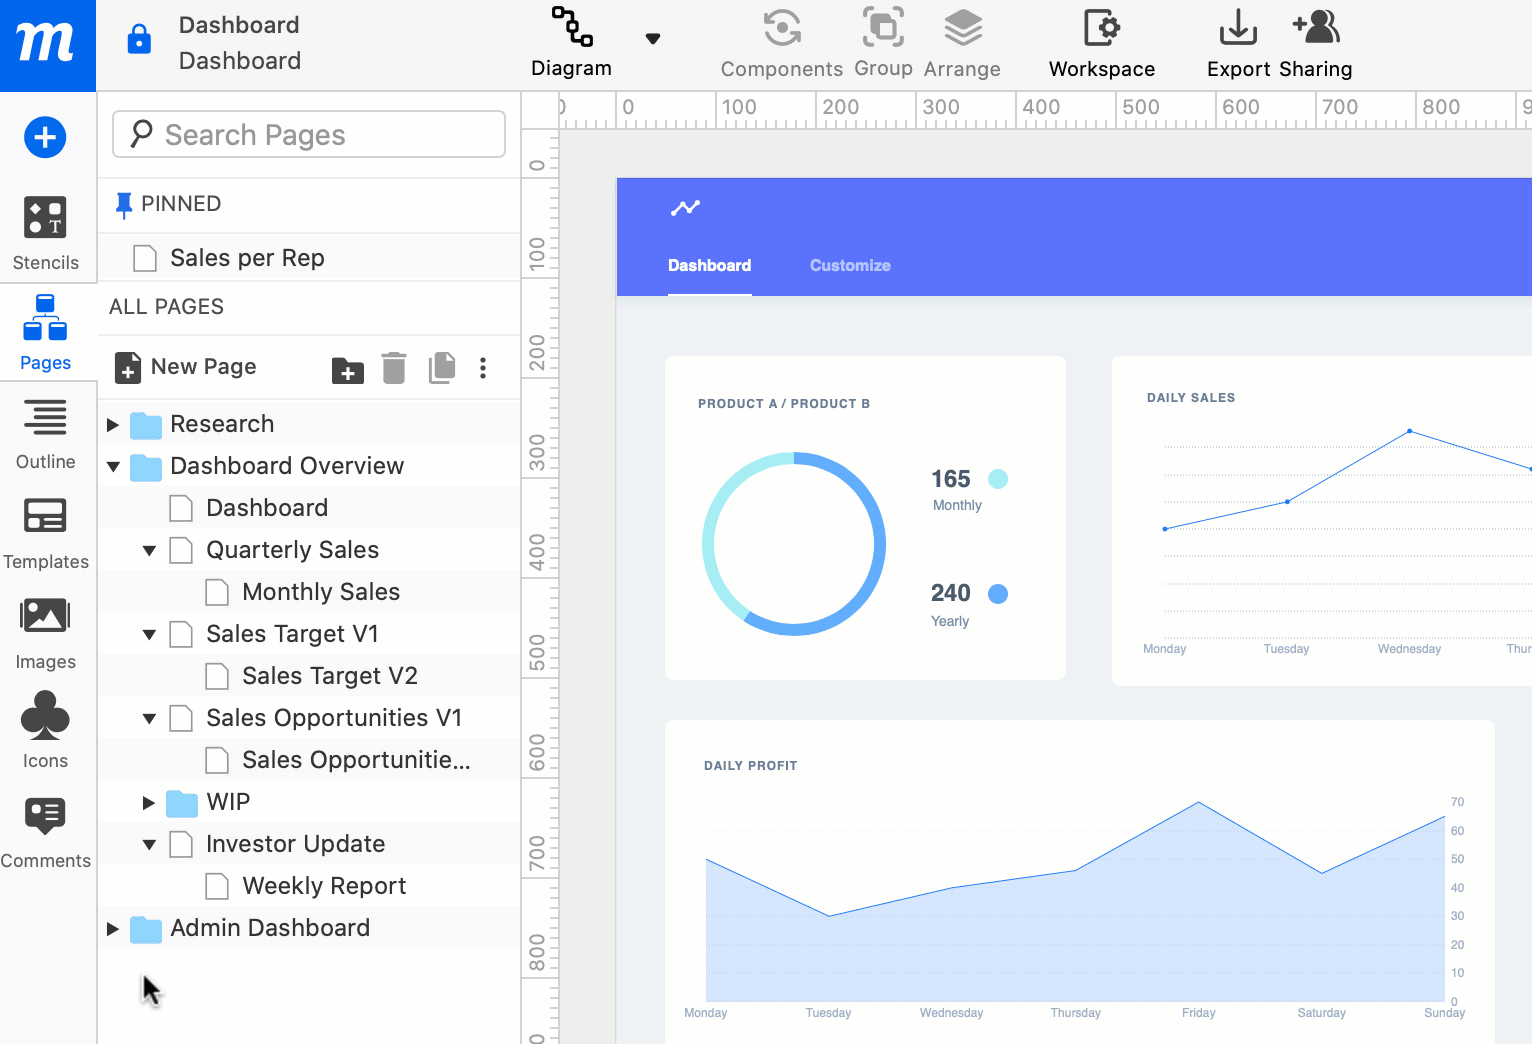
Pin pages
You can pin your most active pages to the top of the Pages Panel for fast access to current work. This can help speed your workflow and make live collaboration seamless.
To pin a page:
- Hover any page name in the Page Tree of your Pages Panel.
- Click the Pin this page button to the right of the page name.
The page will appear in the Pinned section at the top of the panel. To remove a pinned page, just click the Unpin Page button.
Only the individual user sees their own pinned pages. The rest of their team does not. If you want to collectively ‘pin’ important pages for your whole team, move them to the top of the Page Tree, or add emojis to the page name.
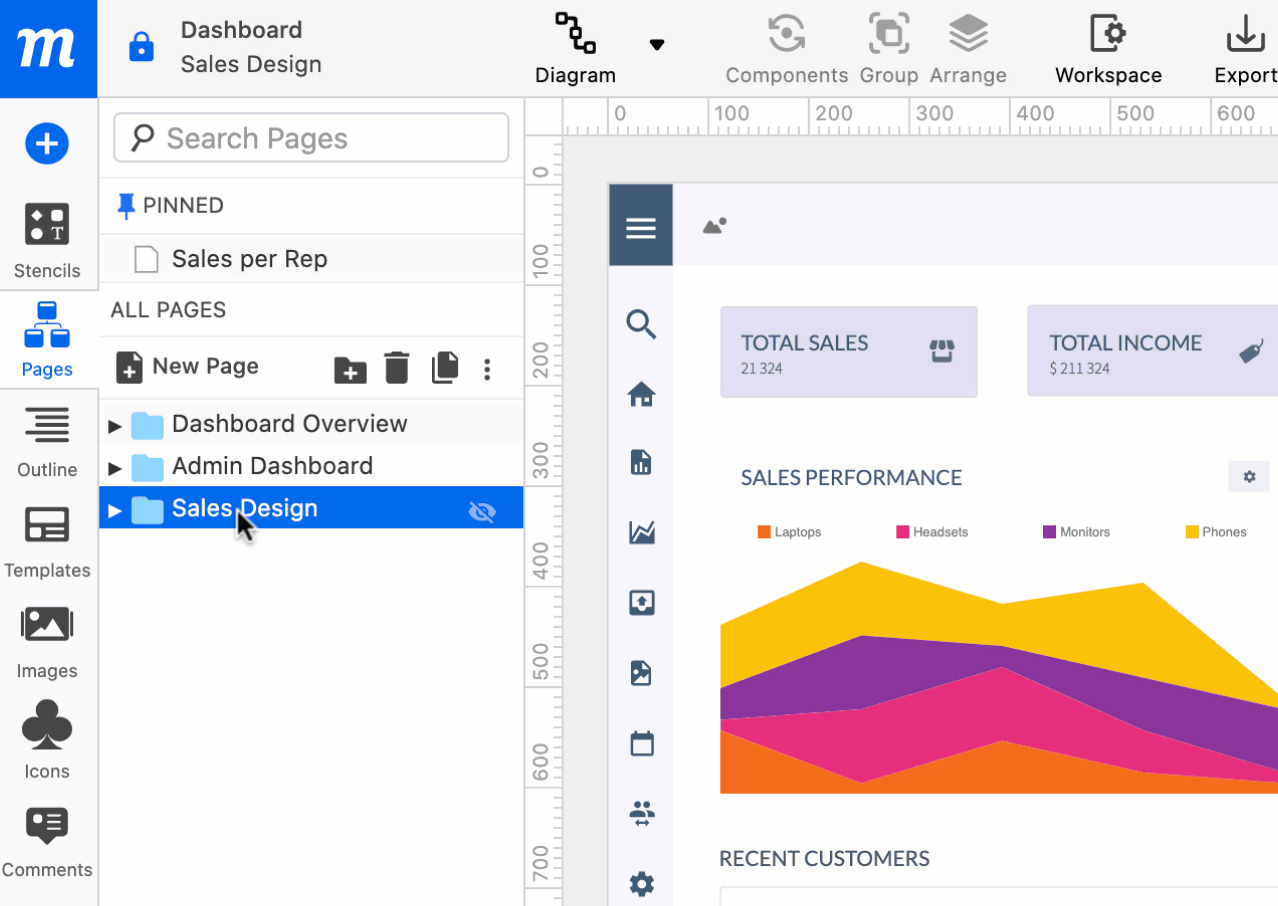
Hide pages
When you Preview or Export your project, you may want to hide some of your pages, such as rough drafts, work in progress, competitor research, discarded iterations, mood boards, etc.
To hide pages or folders (as well as their nested contents):
- Select the pages or folders you wish to hide.
- Click the Hide this page (eye) button to the right of the page name.
- The selection will be greyed out to indicate its status.
You can also hide specific objects on a page, as well as hide content outside page borders.
Create Trello card
You can create a new Trello card, directly from your Moqups page.
The Trello card from selection option lets you pick which Trello Board and List you want as the destination for the new card, and it automatically adds a Cover thumbnail and link to the page on the flip side of the card.
To create a Trello card:
- Select a page
- Choose the Create Trello Card option from either the More actions button, or the right-click Context Menu.
- Select a destination Trello Board.
- Select a List within that Board.
You can create a Trello card from a folder, but the card will not include the Cover thumbnail.
Preview, share, and export pages
You can present and share your work to your collaborators and stakeholders in a variety of ways:
Preview
Preview Mode launches in the Moqups Viewer and is used to present your work, or to enable Interactions for your prototypes. To learn how to present your pages live, check out our Help section on Preview.
In this article you will learn how to enter and exit Preview Mode – and how to open a project directly in Preview. You will also learn about the actions you can perform while in Preview Mode.
Share a Project Link
In our Sharing section, we detail all the ways you can share a project with team members or outside collaborators.
In the section’s Share Project Links article, we explain how to get a project link to open on a designated page.
And, if you want to share only select pages from a project, you can hide all but the pages you wish to share.
Export
In our Projects section, we cover all the ways you can Export projects, pages and objects.
The Select pages for export paragraph explains how to export individual pages, folders, and selections in PNG or PDF format.
To create a record of a project’s page hierarchy, add the list of page titles to your clipboard using the Copy Pages menu option. Then, paste that list to a document or spreadsheet.