In this article:
In this article, we’ll explain the Profile & Password tab in the Account Settings Window.
You’ll learn how to set your profile picture, email, full name, and interface language. We’ll show you how to change your password – or reset if you’ve forgotten it! And, we’ll demonstrate how to both enable and configure two-factor authentication.
If you are looking to transfer your Moqups account to a new Admin, check out Change Account Admin in our Security section.
Profile
To review or change your Profile settings:
- Open the Account Menu in the lower-left corner of the Left Sidebar
- Select the Account Settings option
To make changes:
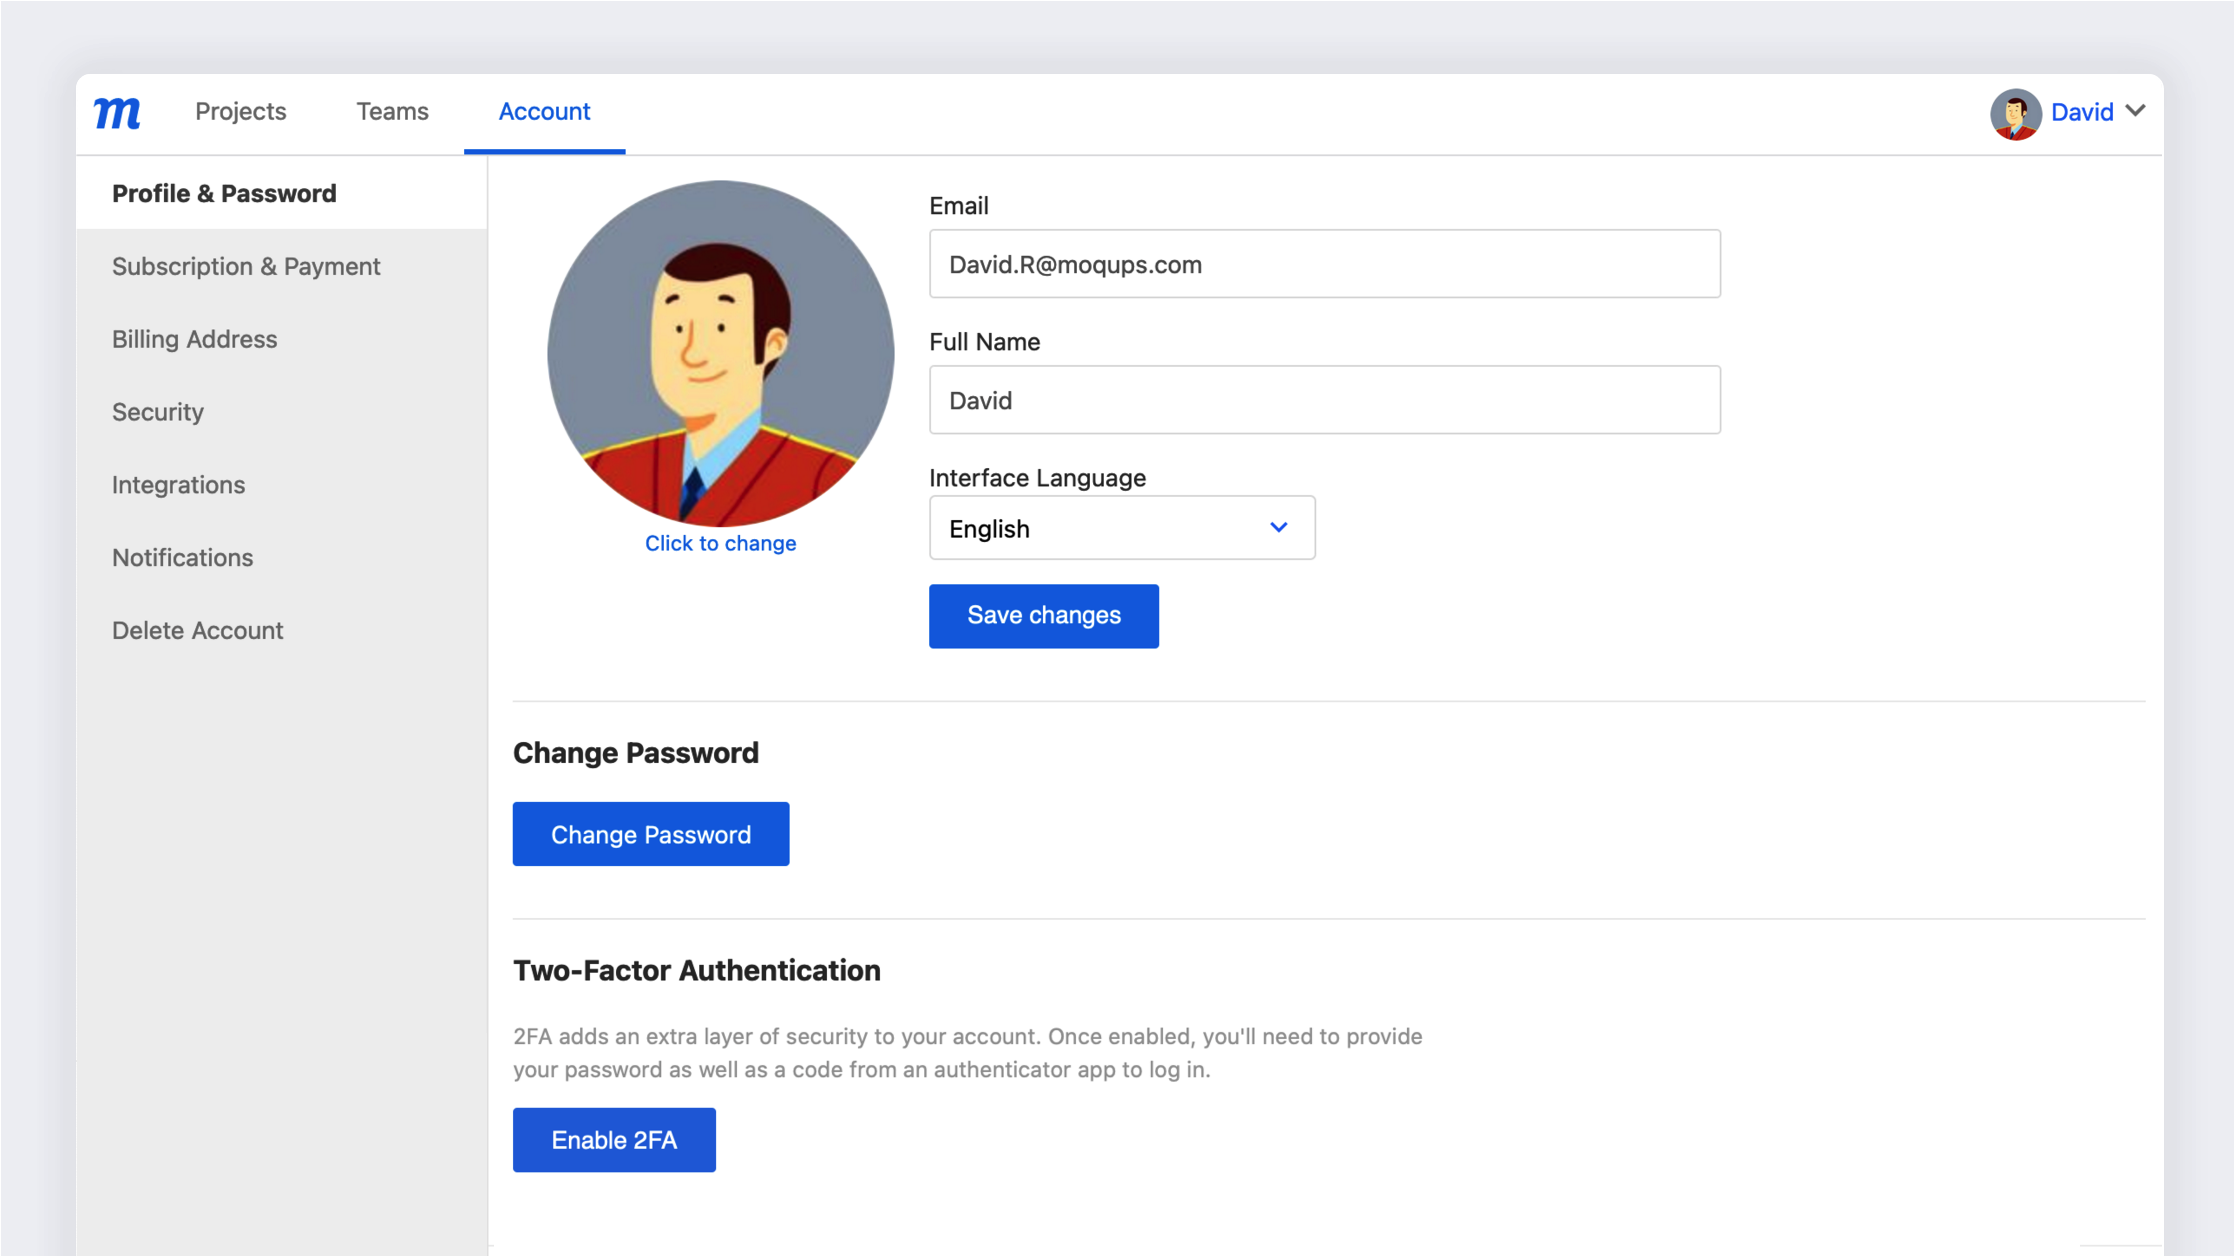
- Click on the Email field and type in your new address. To ensure that you receive your invoices, notifications and reset-password links, make sure that you’ve entered your address correctly, and that the email is currently valid.
- Enter your name in the Full Name field.
- Select Click to change – or click directly on the image placeholder – in order to upload your own Profile Picture, or choose from our choice of avatars.
Interface language
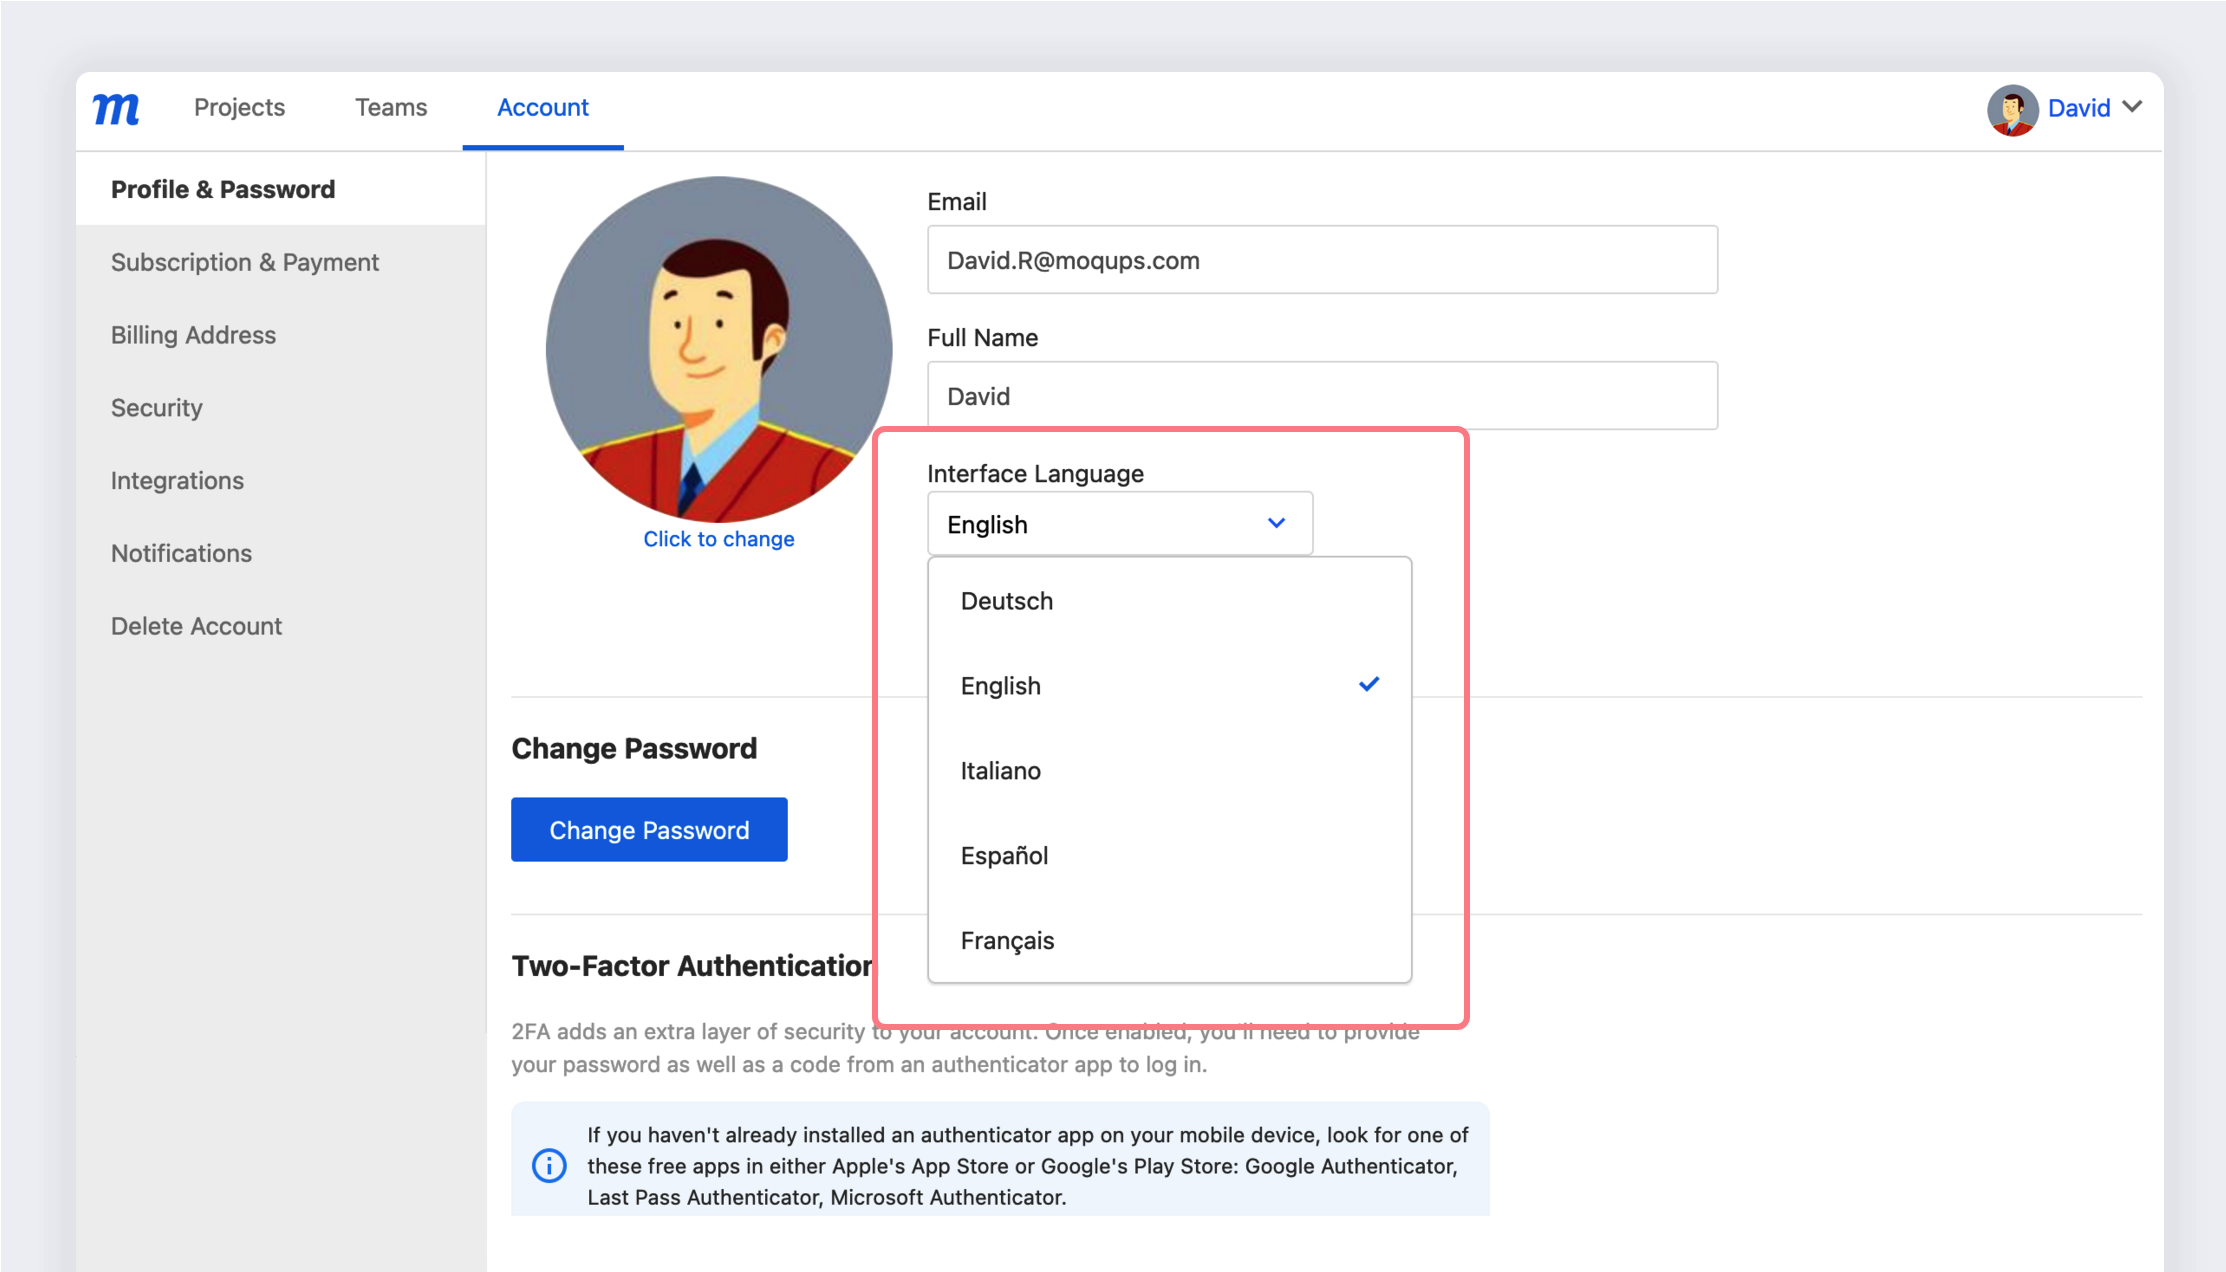
Right now, Moqups is available in English, German, Italian, Spanish, and French.
To change languages:
- Open the Account Menu in the lower-left corner of the Left Sidebar
- Select the Account Settings option
- Choose a language using the Interface Language dropdown
- Click the Save Changes button
- Remember to refresh any open projects after you switch the language
Change password
To change your Moqups password:
- Open the Account Menu in the lower-left corner of the Left Sidebar
- Select the Account Settings option
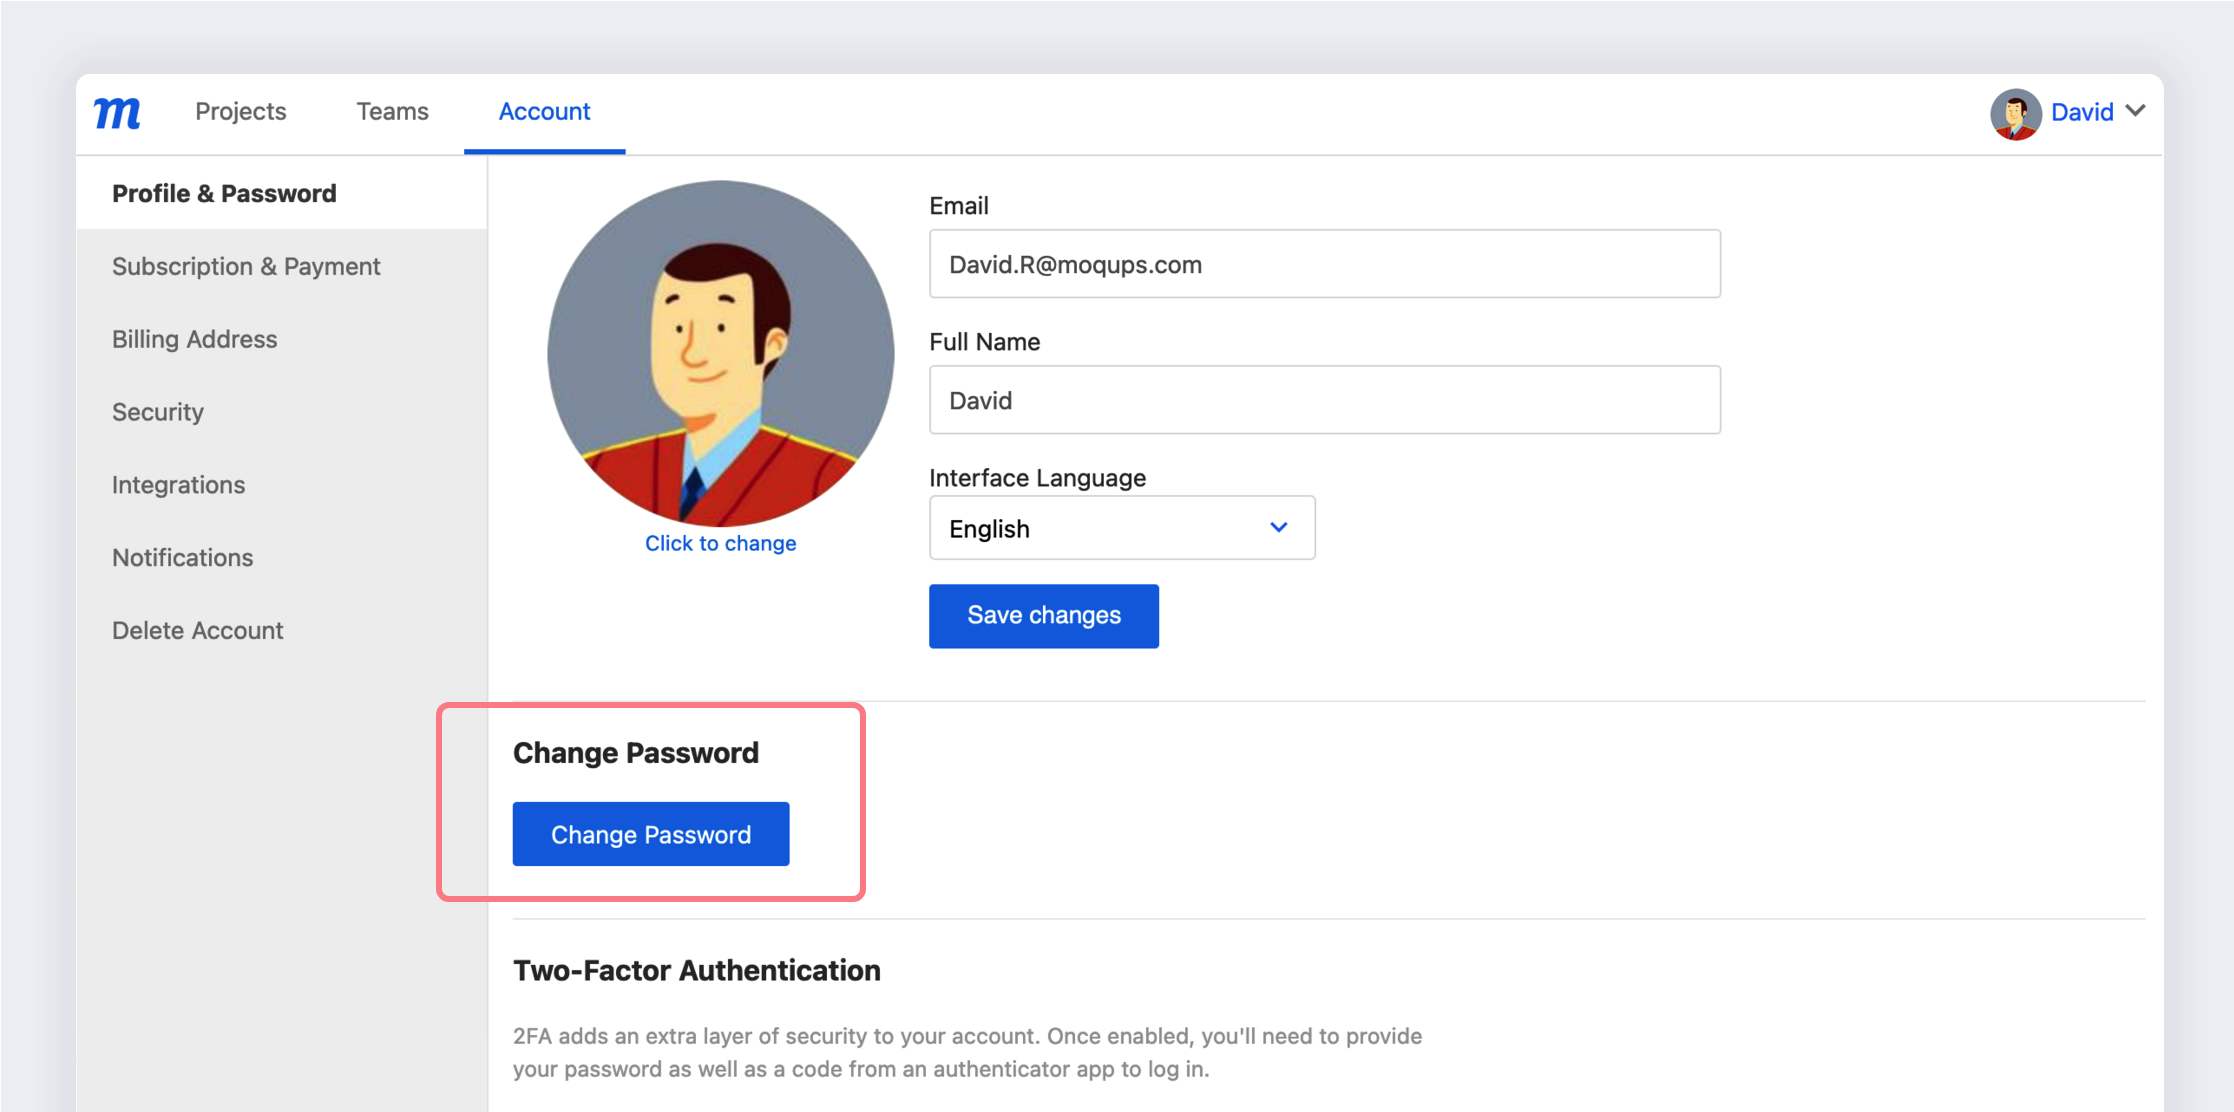
- Click the Change Password button
- Type in your old password
- Type in your new password and confirm it
- Click Update Password
- You can now log in with your new password
Reset password
If you forget your Moqups password, here’s how to reset it:
- Click the Log In button in the upper right corner of either the app or any of our webpages
- Click the Forgot password? link in the Log In Window
- In the Reset your Moqups password modal, enter the email address associated with your Moqups account, and click Reset password
- You’ll receive an email within a few minutes
- Click on the link embedded in that email, and follow the directions
- Check your Spam folder if the email doesn’t arrive in a few minutes
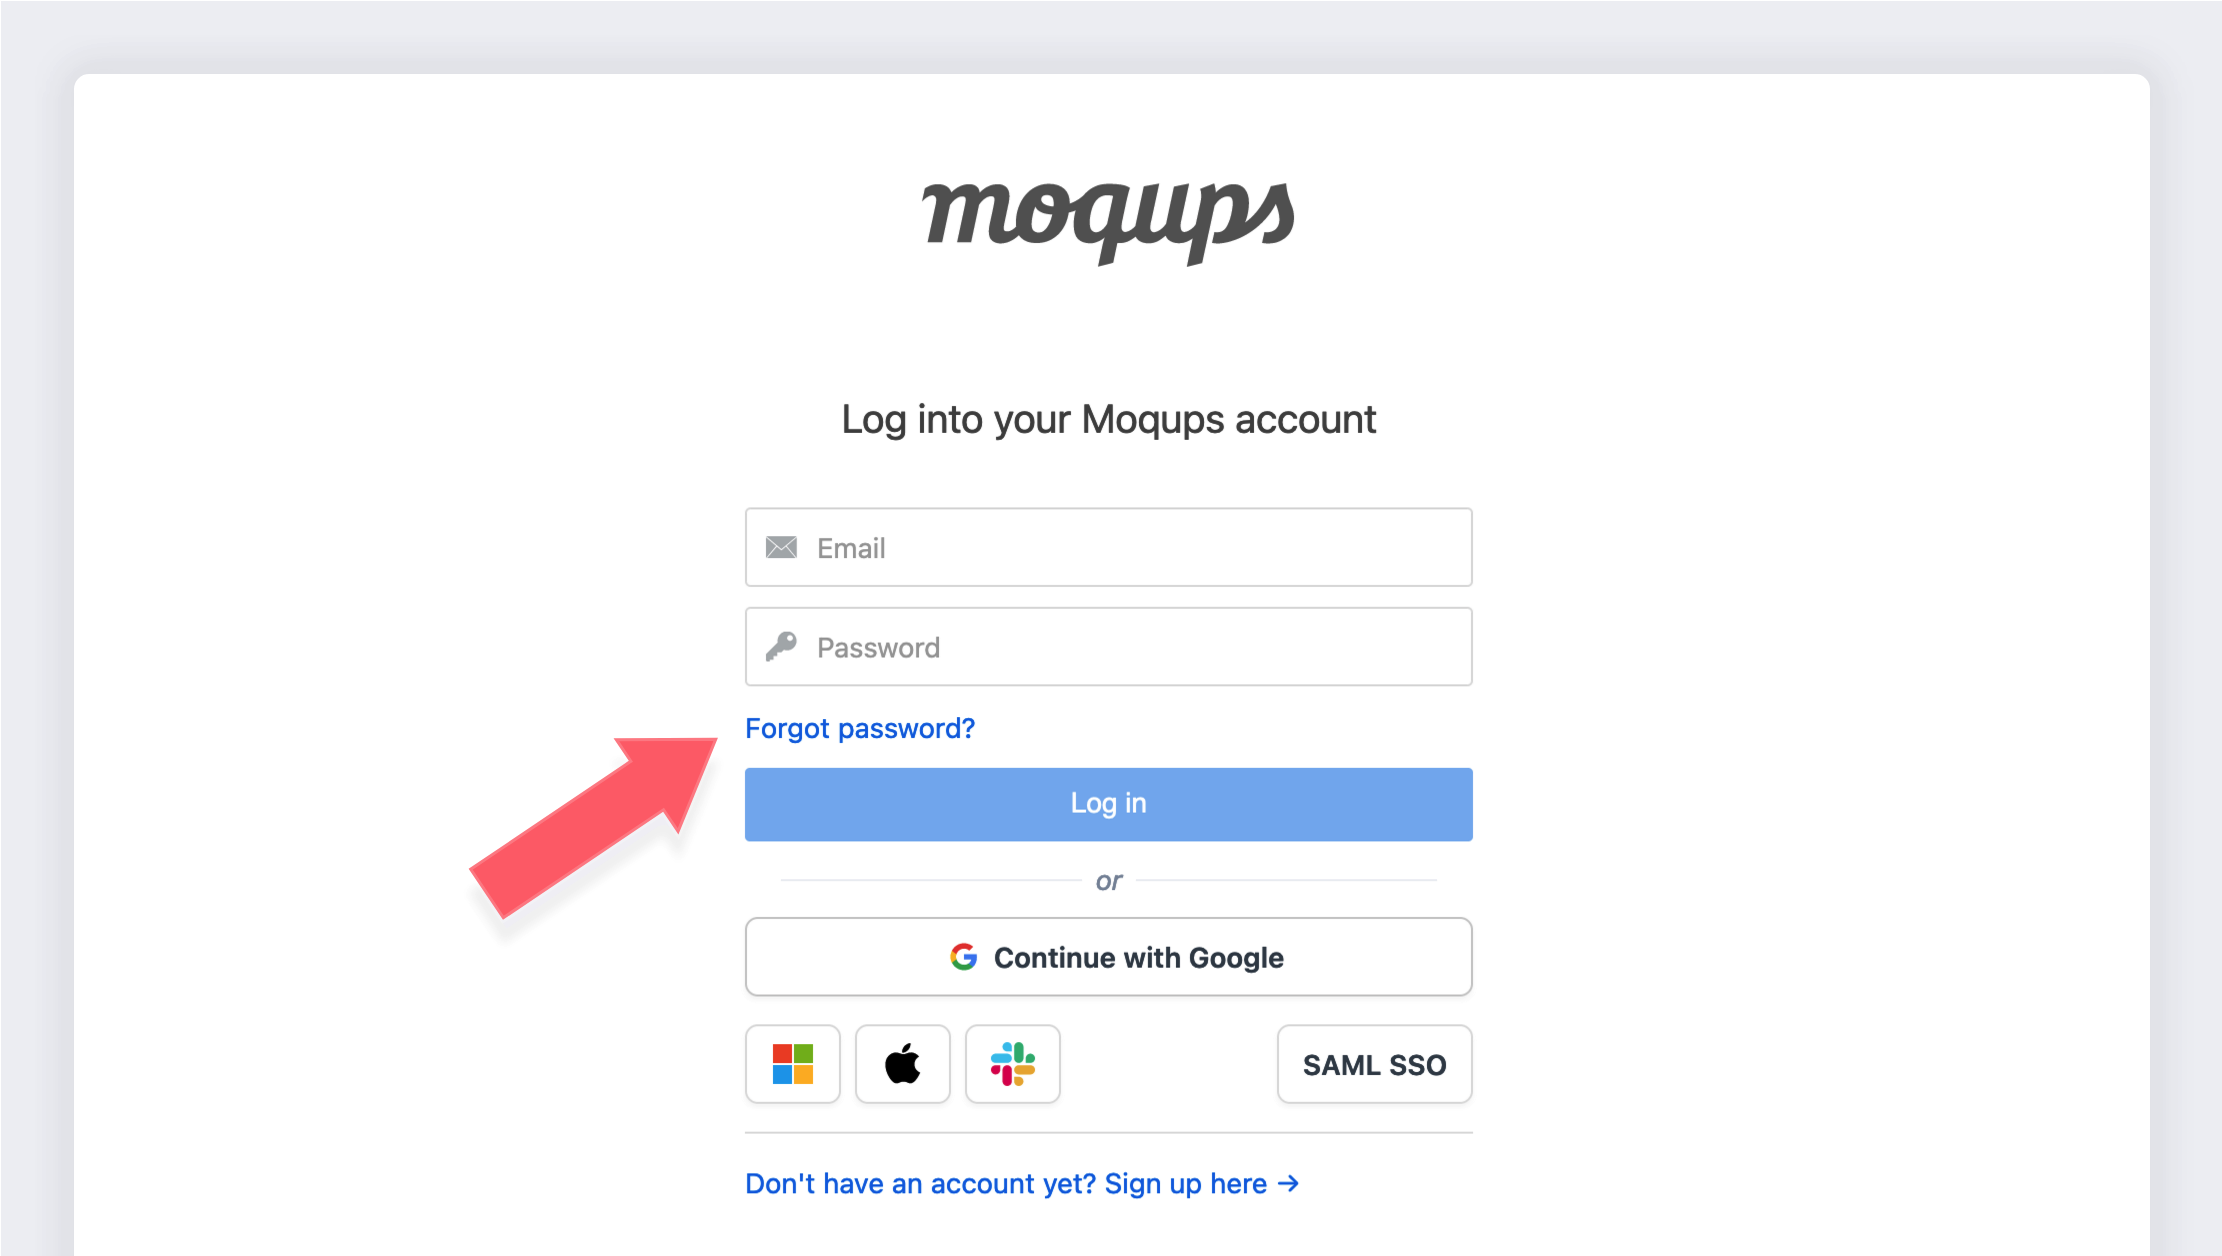
If you initially used a third party app to create your account, you can change your log-in method later – to a password that is not associated with that app's account. Just log out of Moqups and follow the Reset Your Password instructions as above.
Enable two-factor authentication
You can add an extra layer of security to your account, by setting up two-factor authentication. Once you’ve enabled 2FA, you’ll be asked to confirm your identity at each new login.
If you use Single Sign-On to log in, you won’t be able to use two-factor authentication for that session.
Each team member must set up 2FA for their own individual Moqups account. There’s no way, currently, to enforce two-factor authentication for a team as a whole.
If you haven’t already installed an authenticator app on your mobile device, look for one of these free apps in either Apple’s App Store or Google’s Play Store: Google Authenticator, Last Pass Authenticator, Microsoft Authenticator.
To enable two-factor authentication:
-
Open the Account Menu in the lower-left corner of the Left Sidebar
-
Select the Account Settings option
-
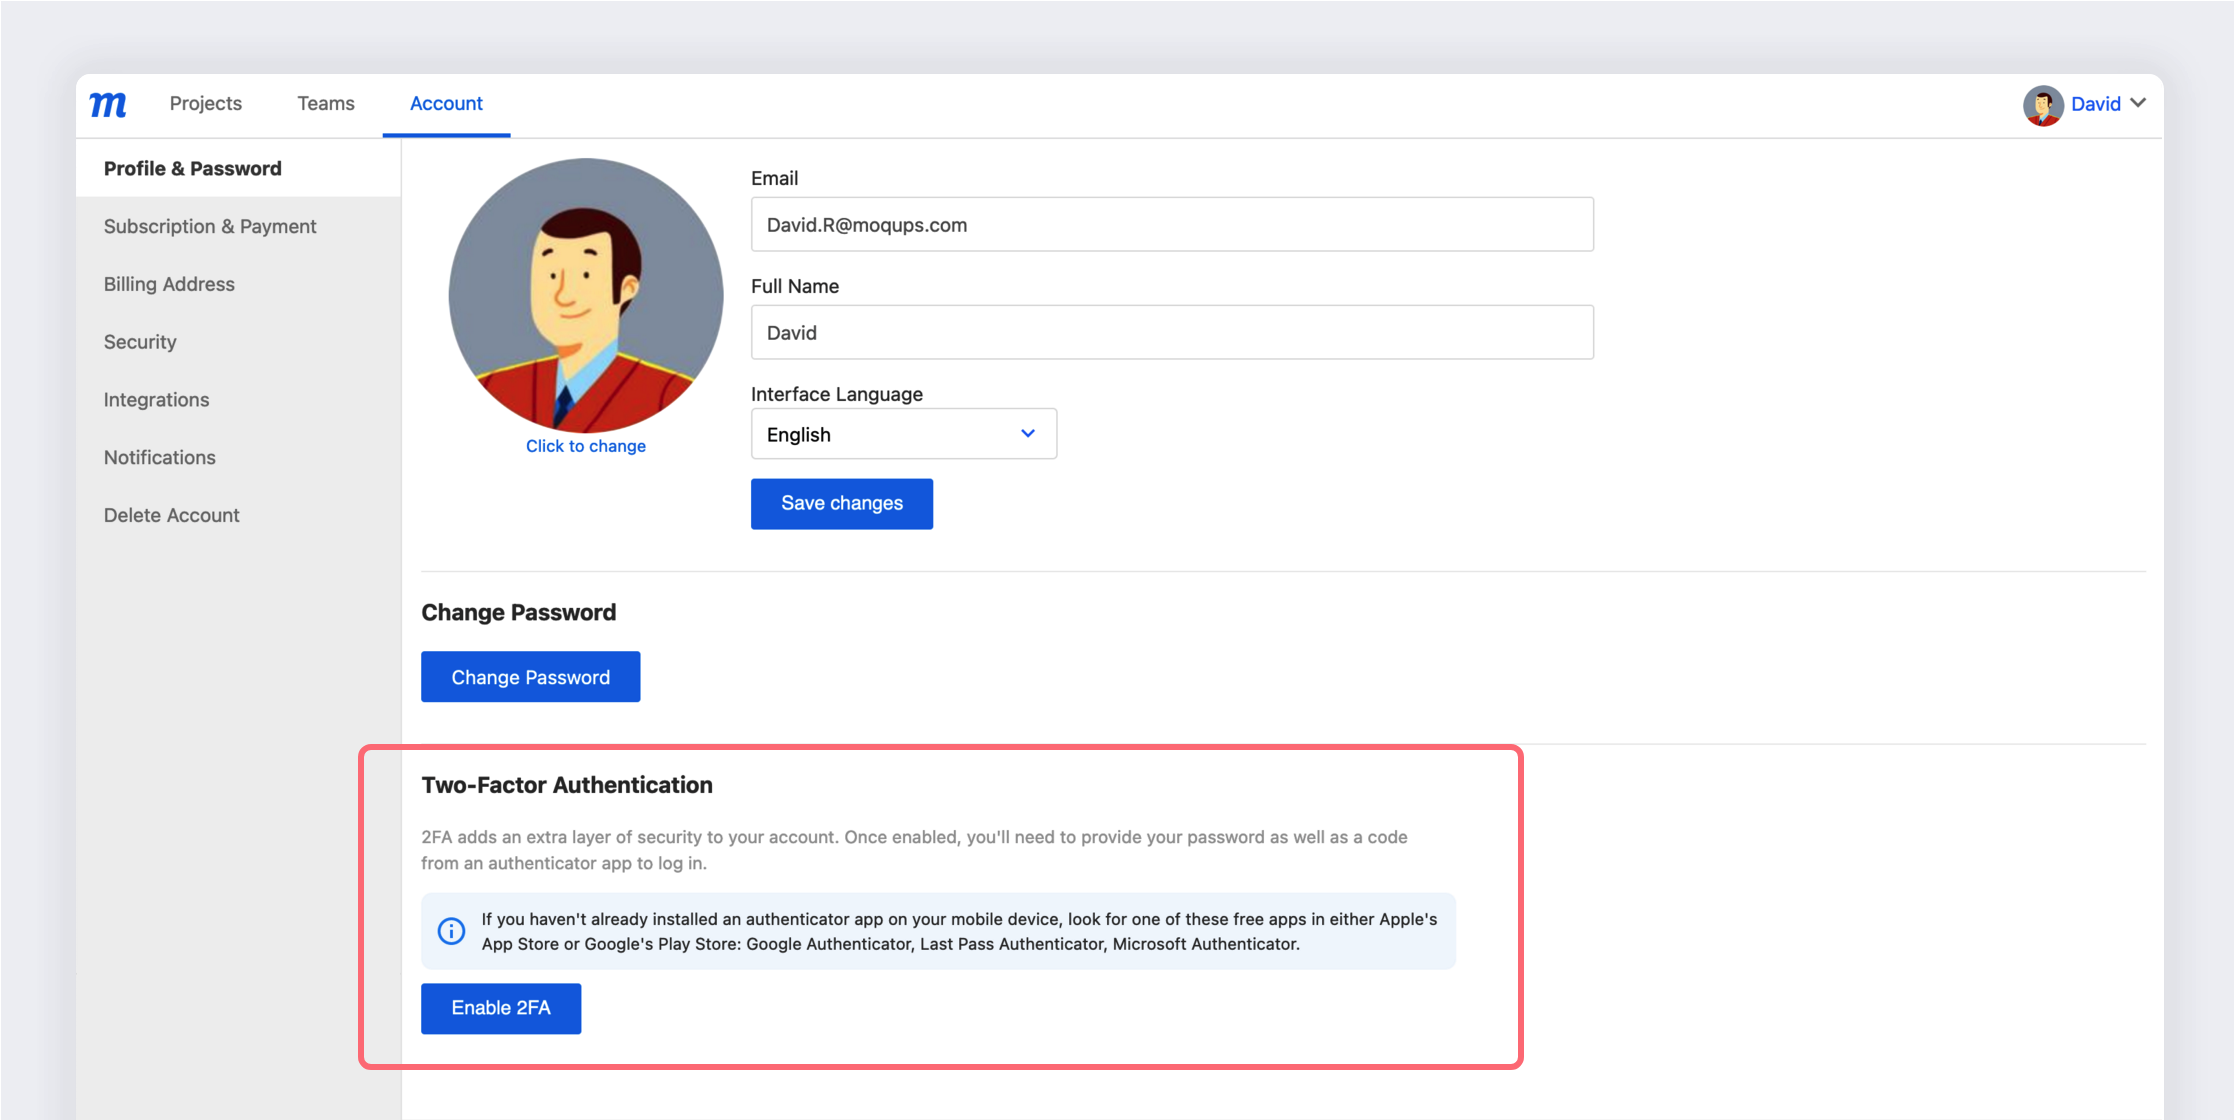
In the Two Factor Authentication section, click the Enable 2FA button
-
Confirm your password in the pop-up and click Continue
-
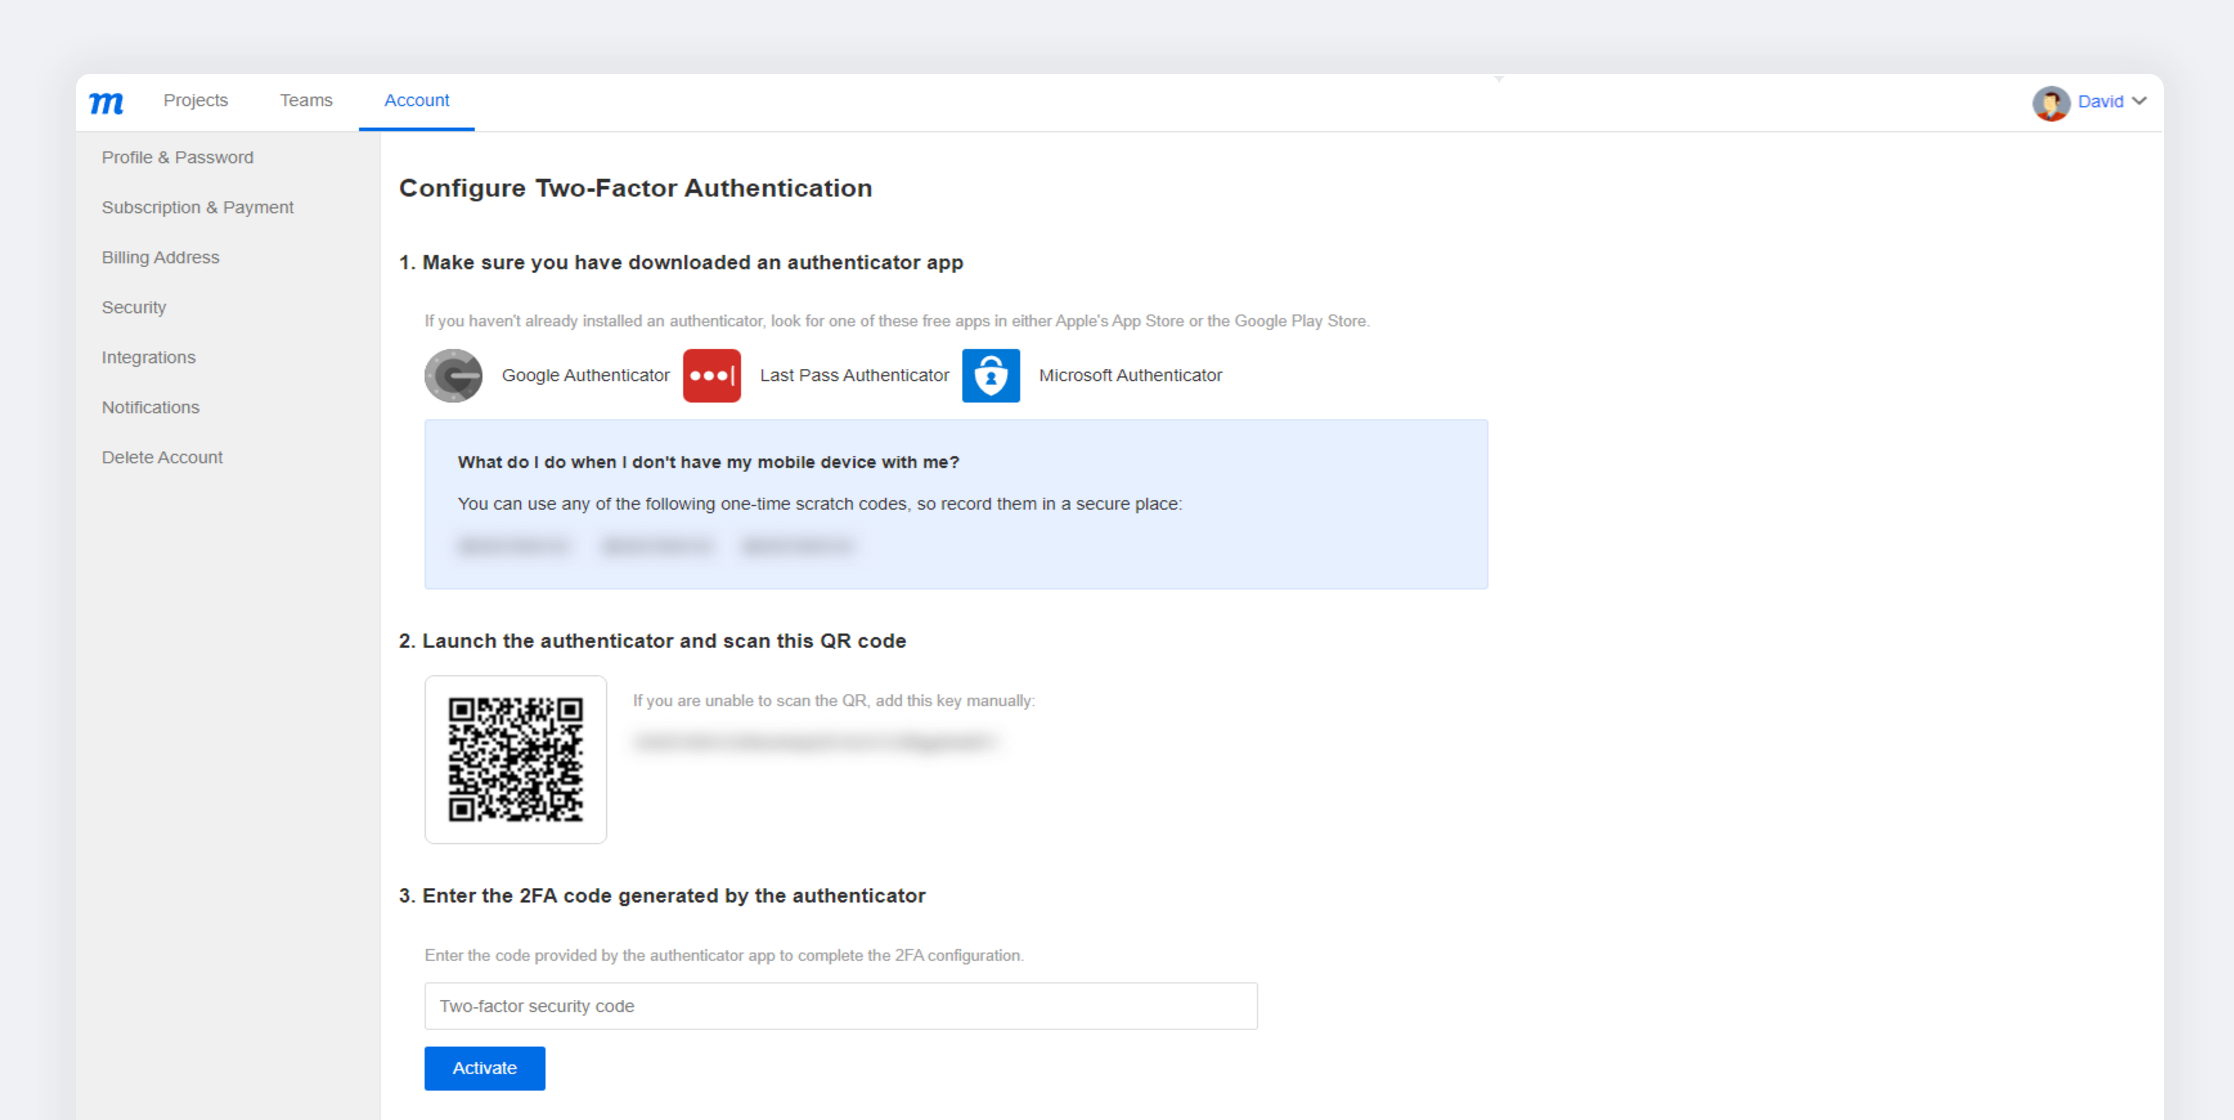
The Configure Two-Factor Authentication window will open
-
Follow the 3 configuration steps detailed there:
- Make sure you have an authenticator app on your device
- Launch the authenticator and scan the QR code
- Enter the 2FA code generated by the authenticator
-
Click the Activate button
-
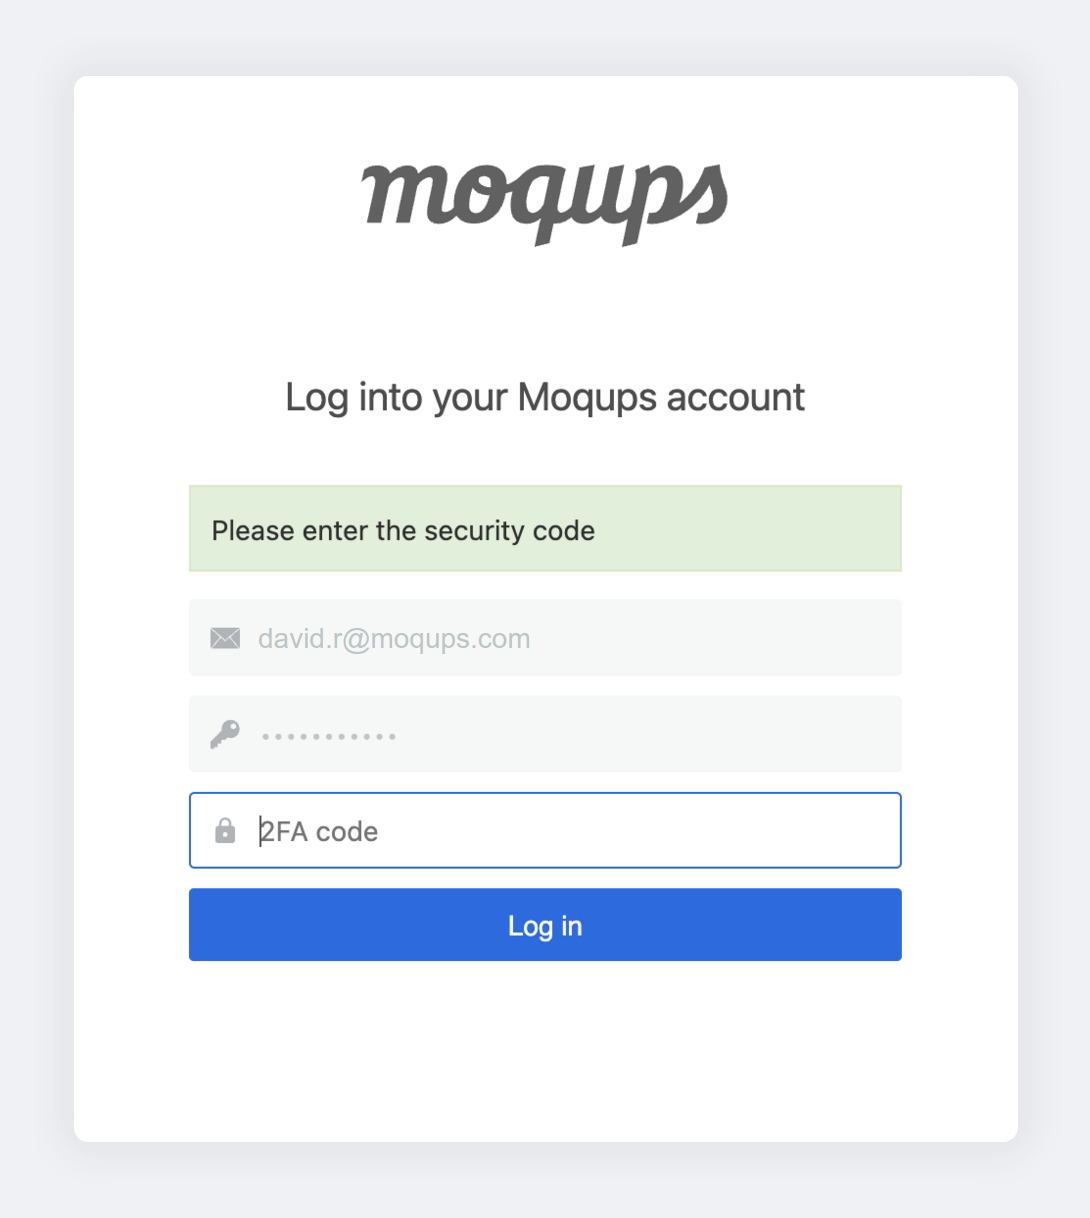
During your next login, enter the 2FA code generated by the authenticator app
