In this article:
Once design elements – Images, Stencils, Icons and Templates – are added to the page, they are called Objects.
All objects, including Images, can be styled and customized in the Format Panel – and share many of the same formatting controls. Please see our General formatting article in the Stencil section for those styling features.
But images also have their own features, and a dedicated toolbar that allows for quick formatting and image-specific editing like cropping, background removal and patching.
In this article, we’ll focus on those image-specific tools.
For styling that applies to all objects, including images, see our General formatting article.
Color overlays
For images, the Fill tool lets you add a color overlay and adjust its opacity.
To add a color overlay to an image:
- Select an image on the page
- Go to the Format Panel
- In the Fills & Stroke section, click on Fill Color to open the Color Picker Popover
- Pick a color for your overlay
- Adjust degree of overlay by entering a percentage value in the Opacity input at the bottom of the Color Picker.
- Note that the Opacity input in the Color Picker controls the density of your overlay’s color, whereas the Opacity slider in the Format Panel adjusts the opacity of the image itself (including the overlay).
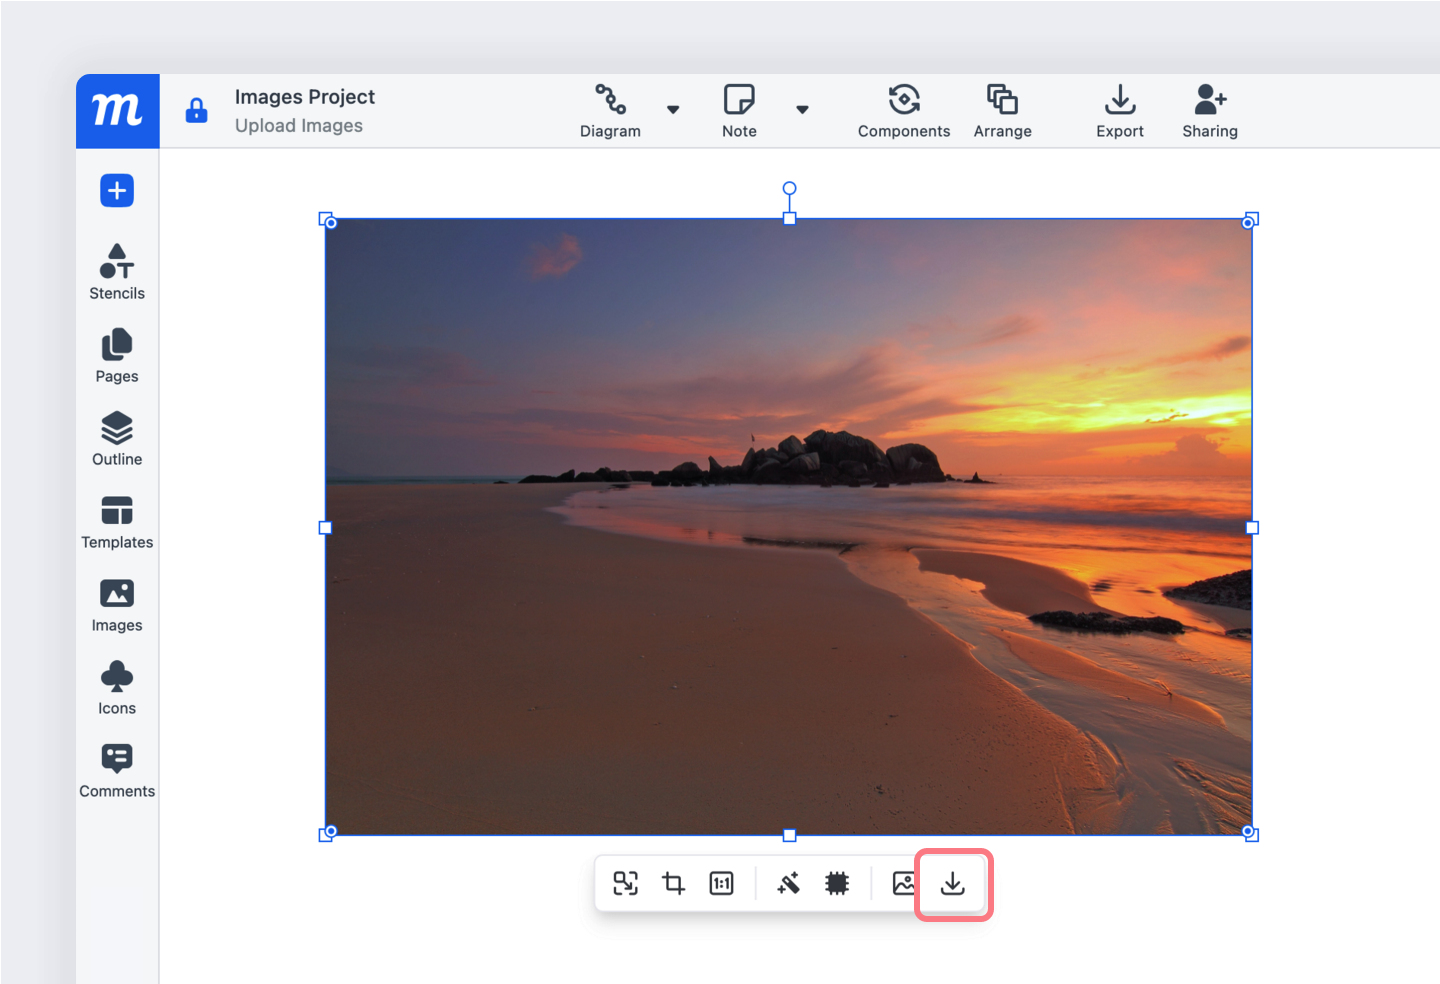
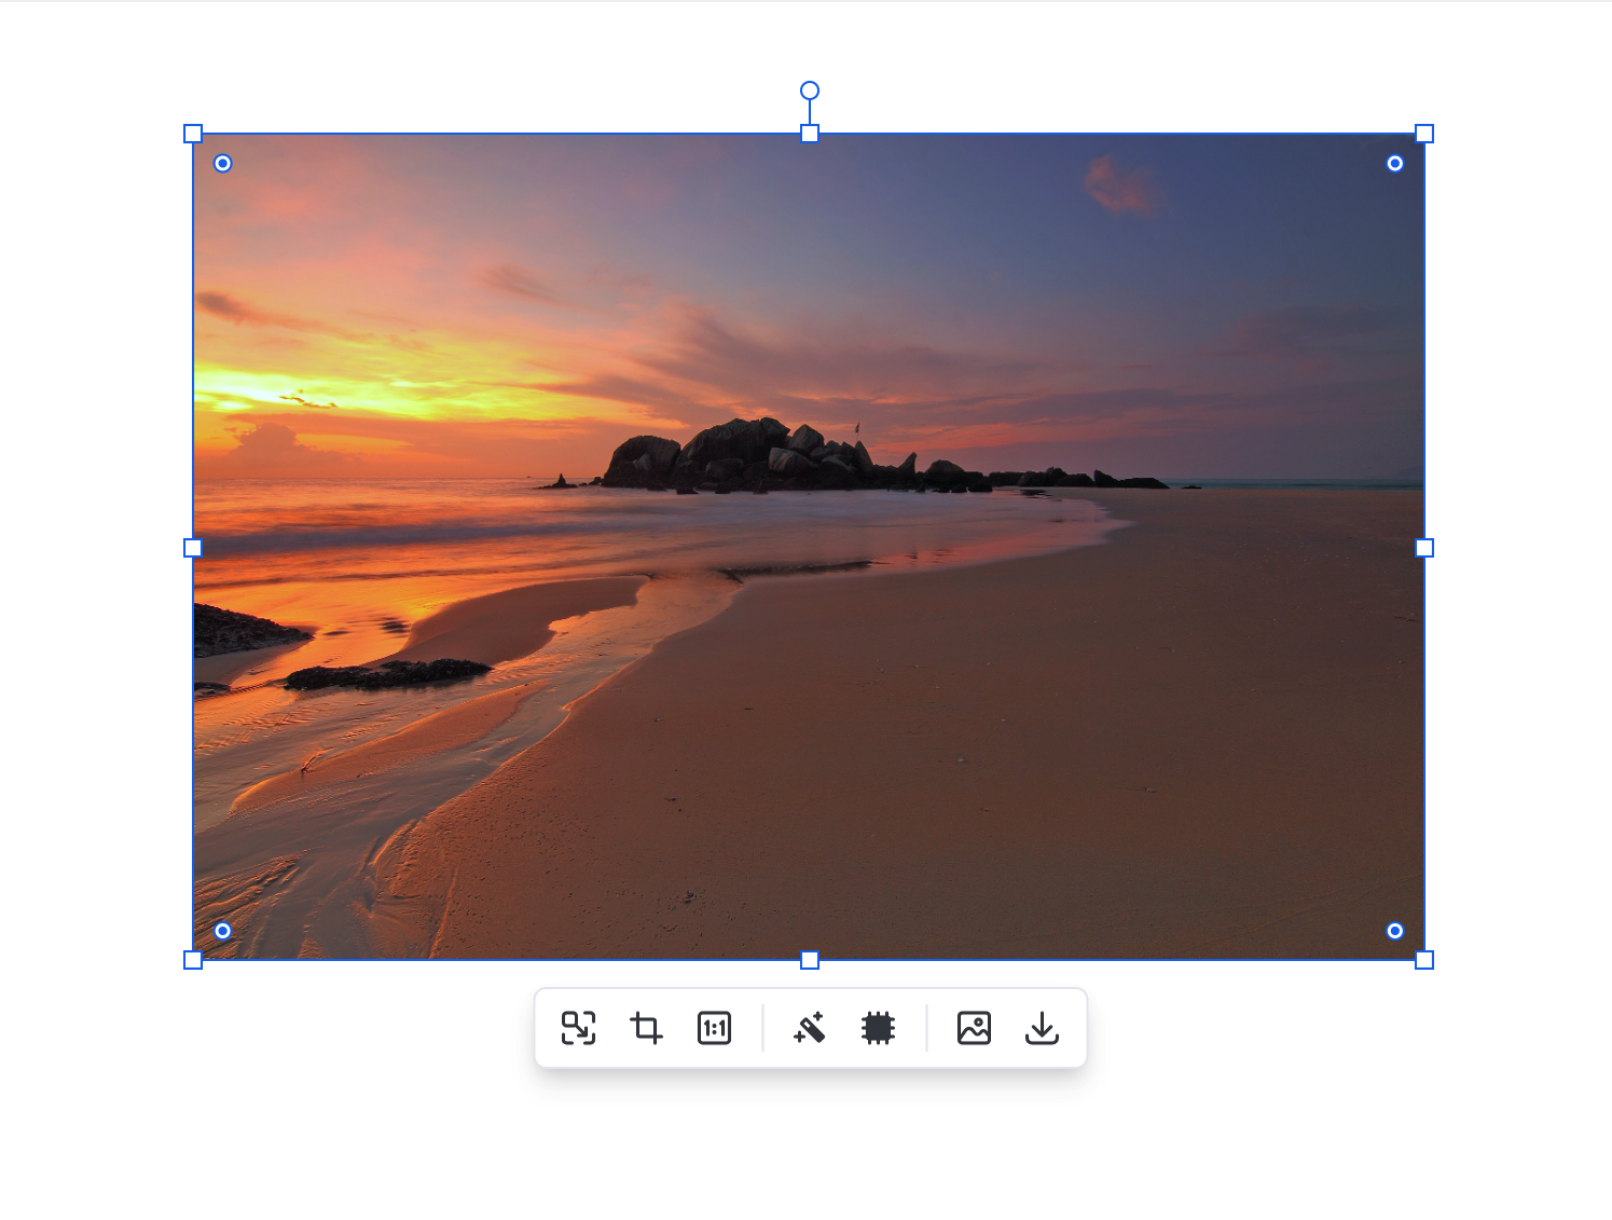
Image toolbar
Selecting an image on the page will display the Image Toolbar. Using the toolbar, you can quickly resize, crop manually or to established presets, remove background colors, replace the selected image, and download the image’s source file to your desktop. We’ll explain each of these features in the sections below.
Quick resize
Quick resize allows you to make the selected image bigger or smaller, relative to the source image, while keeping the aspect ratio intact:
Crop
Cropping is non-destructive, meaning that, after cropping an image, you can always go back and re-crop it. This is handy when you want to use the same image repeatedly, but focus on different areas of interest within that image.
Your Image Library is account based, so you can reuse images on multiple projects within your account. This is particularly useful when working with logos and branded design elements, or with images that have multiple points of interest.
To crop images:
- Select an image to display the Image Toolbar
- Click on the Crop Image button
- A black border will appear around the image
- Use the slider to zoom in and out
- Click inside the black border and use the hand-cursor to adjust the placement of the crop-window
- Use the black resize handles to crop your image
- To apply the crop, click outside the image or click ‘Done’
- ‘Reset’ returns the image to original
Click on an image and hit Return/Enter to quickly activate Crop mode.
To quick crop images to a preset aspect ratio:
- Select an image to display the Image Toolbar
- Click on the Quick Crop button
- Choose one of the preset options
- ‘Reset’ returns the image to original
Background removal
Background Removal is particularly useful during the creation of preliminary mockups, when you often cobble together images, logos, and other kinds of visual references. Even though these elements are just temporary stand-ins for subsequent, more polished design elements, they still have to be slick and professional enough to be persuasive.
Inevitably that means cropping, stacking, adjusting, and grouping these assets to create a credible draft. You may need to quickly remove the background color from a logo, eliminate a distracting visual artifact, or see whether the product shots look better without their background. To remove a background from an image:
- Select an image to display the Image Toolbar for images.
- Enter Background Removal mode by clicking on the Magic-Wand icon.
- Click on the area of an image to remove a solid color, or click and drag to remove a color range.
- To apply the changes, click outside the image or click ‘Done’.
- ‘Reset’ returns the image to original.
- To save the altered image, right-click and select ‘Add to library’ option from the Context Menu.
Image patch
The patch tool lets you color over part of an image by clicking and dragging. This is perfect for overlaying new ideas onto screenshots by masking existing elements. Just select the Image Patch button, click on the image to select a pixel color, and then drag to cover an area.
Replace image
You can quickly update and replace any image on the page. Just drag a new image from the Image Library, or from your computer, and drop it onto an existing one when the ‘replace’ icon appears.
Or, you can select an image on the page and use the Replace Image button on the Image Toolbar to select a replacement from your computer.
Download source image
Use the Download Source button on the Image Toolbar to download the original, unformatted version of your selected image.
You can also do this from the Image Library on the left sidebar.