In this article:
In the following section we’ll explain how to upload and manage your image assets, as well as how to add them to your Moqups projects.
Upload and add images to the library
Images can be uploaded to the Library or added directly to a page from an external source. The Image Library will be empty until you upload your own images.
Moqups allows you to work with five image formats: JPEG, PNG, GIF, SVG, and WEBP (where browsers support it).
When you upload images, they’re added to either the Team images or Project images section of the Image Library, depending on which section you have previously selected.
The first time you add an image during a new session, a notification appears at the bottom of the page to remind you which library – Team or Project – you’ve selected.
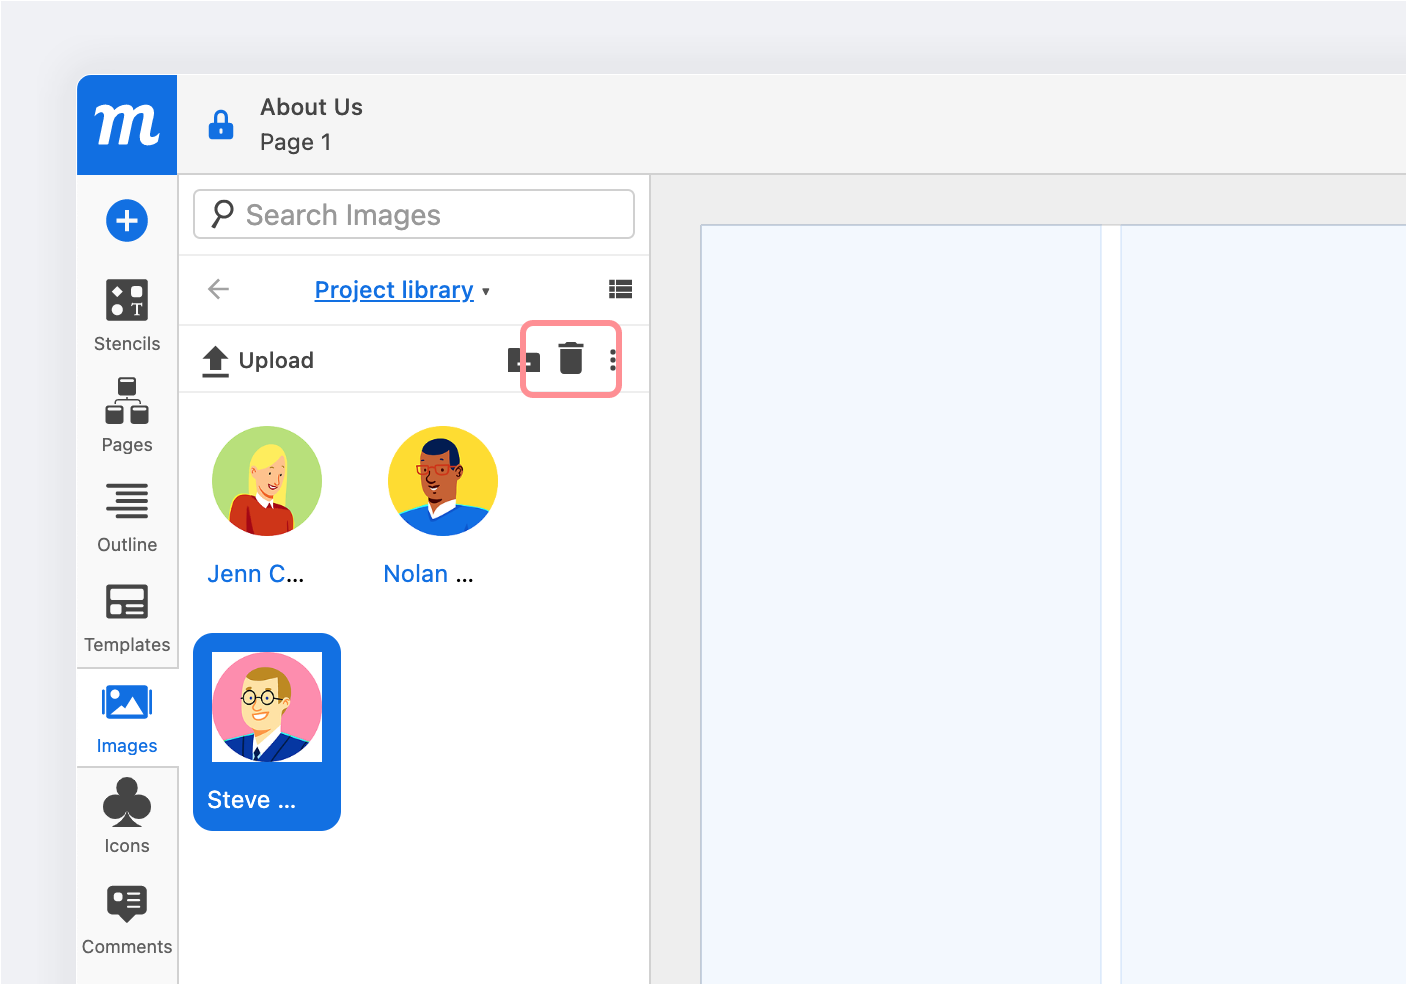
To open the Image Library, navigate to the Left Sidebar and click on the Images Tab. The tab will turn blue, and will open the Images Panel.
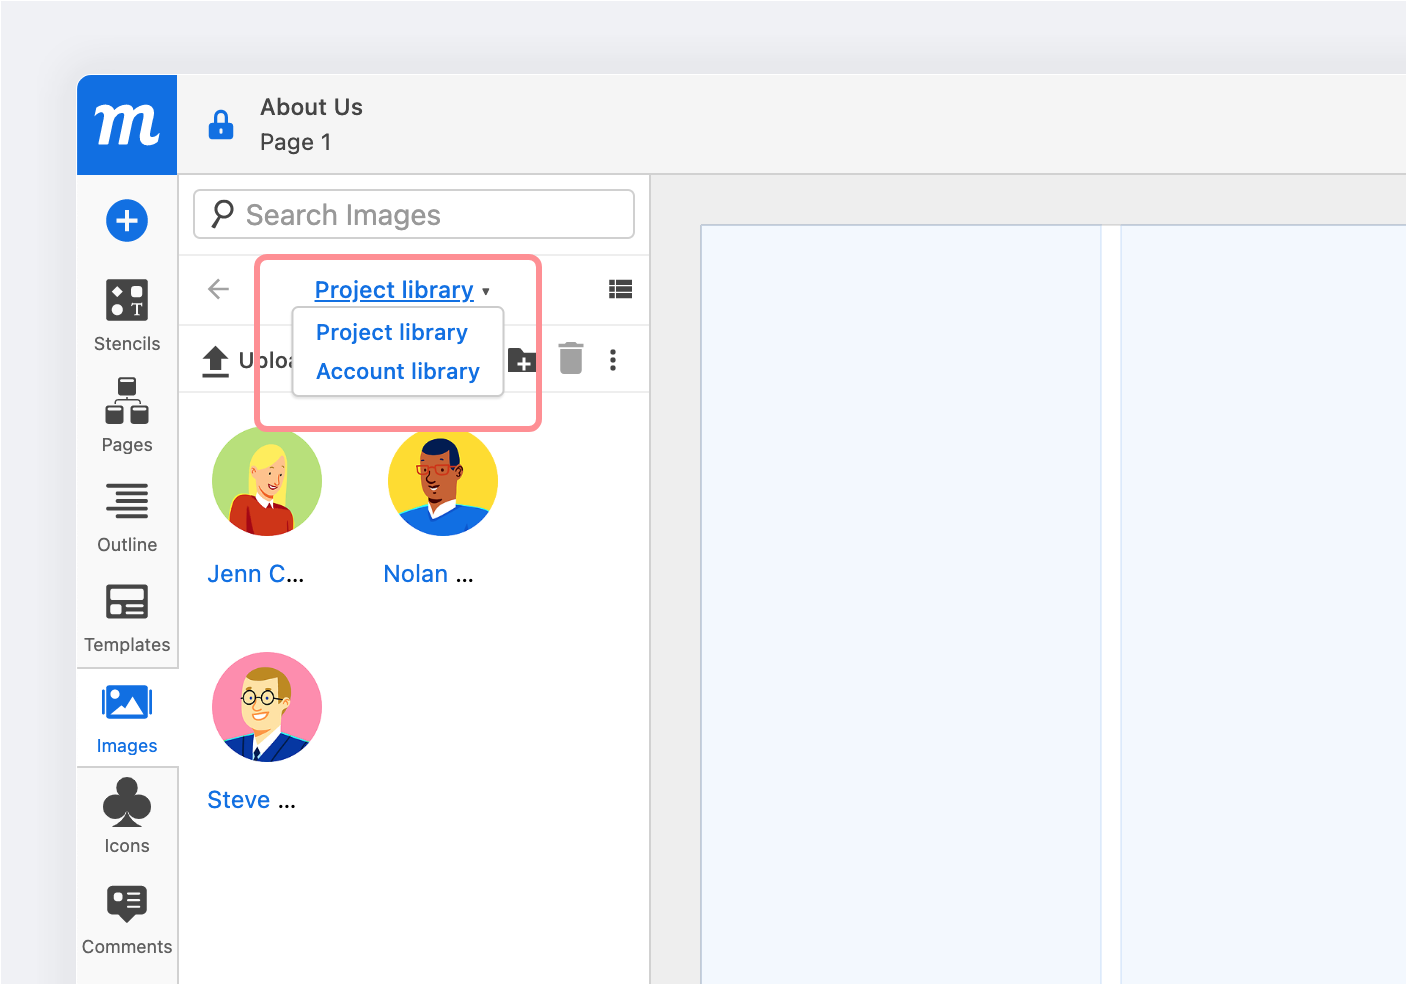
The dropdown menu at the top of the panel will allow you to select either the Team images or Project images library and, to the right of the dropdown, you can switch between Grid View and Tree View.
Once you’ve selected either the Team images or Project images library from the dropdown, there are four ways to upload images to the library:
- Click the Upload images button at the top of the Images Panel and select one or more images from your computer.
- Click the Note button on the top toolbar and select Image from the dropdown and select one or more images from your computer.
- Drag & Drop images from your computer onto the Images Tab, the Images Panel, or directly onto the page itself.
- Drag & Drop or Copy & Paste images directly onto the page and they’ll be added to the library.
Because uploaded images retain the name of the original file, make sure to name them appropriately before uploading.
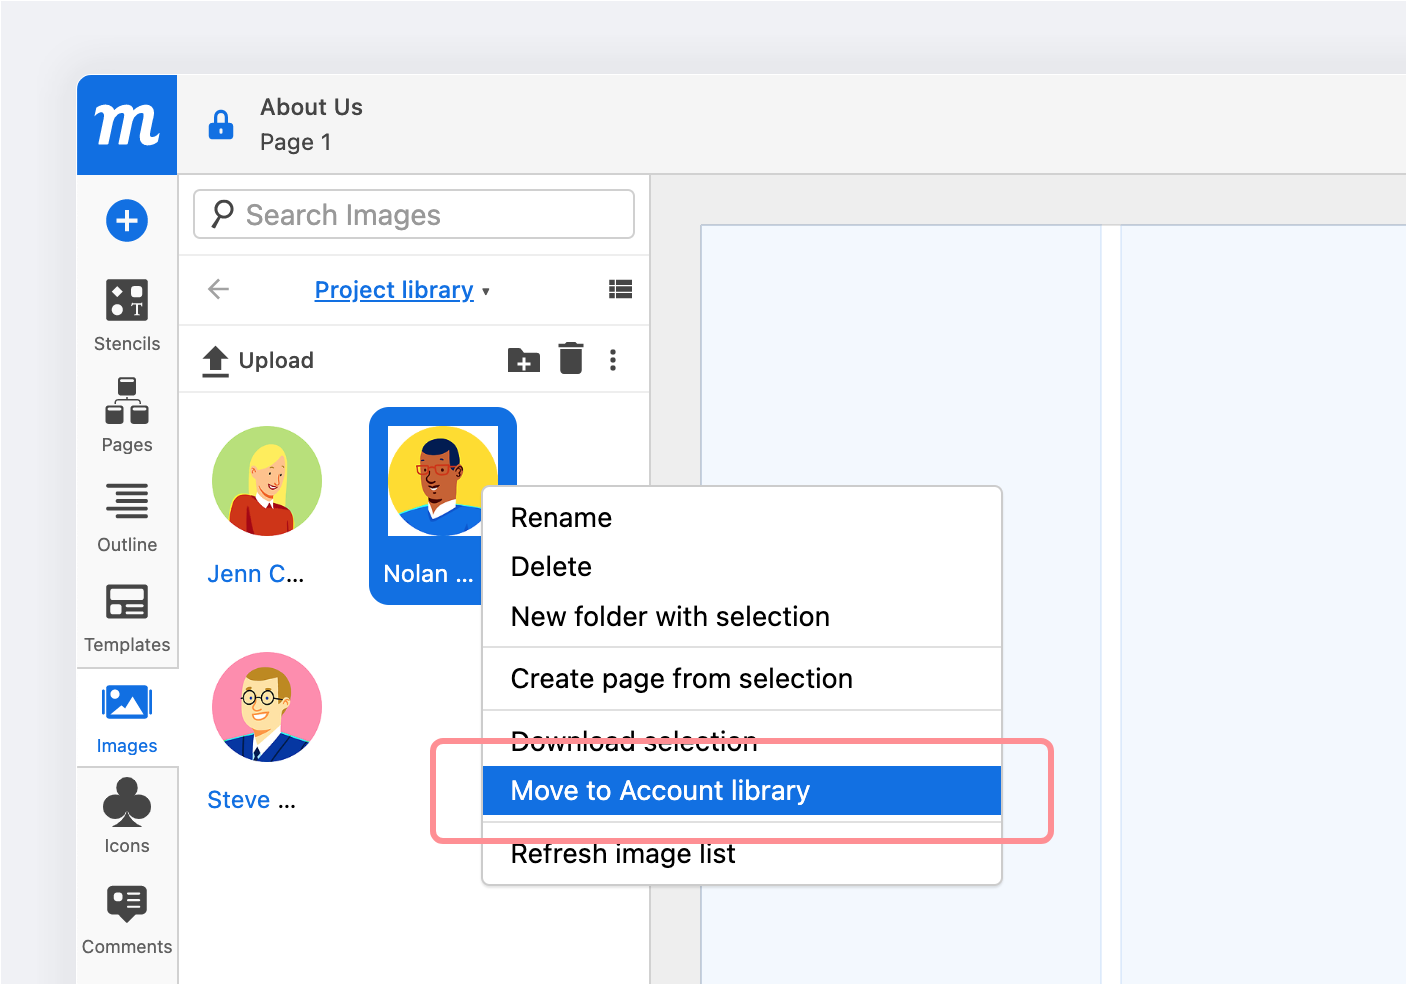
Move images between libraries
To move images between your Team images and Project images libraries, just select the images you wish to relocate, and then click the Move to option from either the right-click Context Menu or the More options menu:
Search images
To search for a Image, first select either Team images or Project images, and then use the Search input at the top of the Images Panel. The search works for images within folders as well.
Ctrl/Cmd + F quickly activates the Search input from the active panel.
View, rename, and manage image assets
The Image Library is divided into two separate sections:
- Team Images: Images accessible to the Team for all their Projects
- Project Images: Images specific to the Project at hand
The Team category allows you to upload and share commonly used assets – like logos and branded assets – with the rest of your team, and across all your projects. The Project category helps your team streamline their workflow by acting as a repository for images relevant only to a specific project.
Viewing Images in the Library
At the top-right of the Image Panel, you can switch between Grid View and Tree View.
- Grid View makes it easy to performs a quick visual scan of your uploaded images.
- Tree View gives you an instant birds-eye view of your assets – and is especially useful if you have organized images into nested folders.
Hover over an image in either Grid or Tree view to reveal a pop-up thumbnail with the Image details: name, format, dimensions, file size, and the Moqups identity of both the image uploader and owner.
Use the Refresh option in the right-click Context Menu or the More options menu to see the most recently added images.
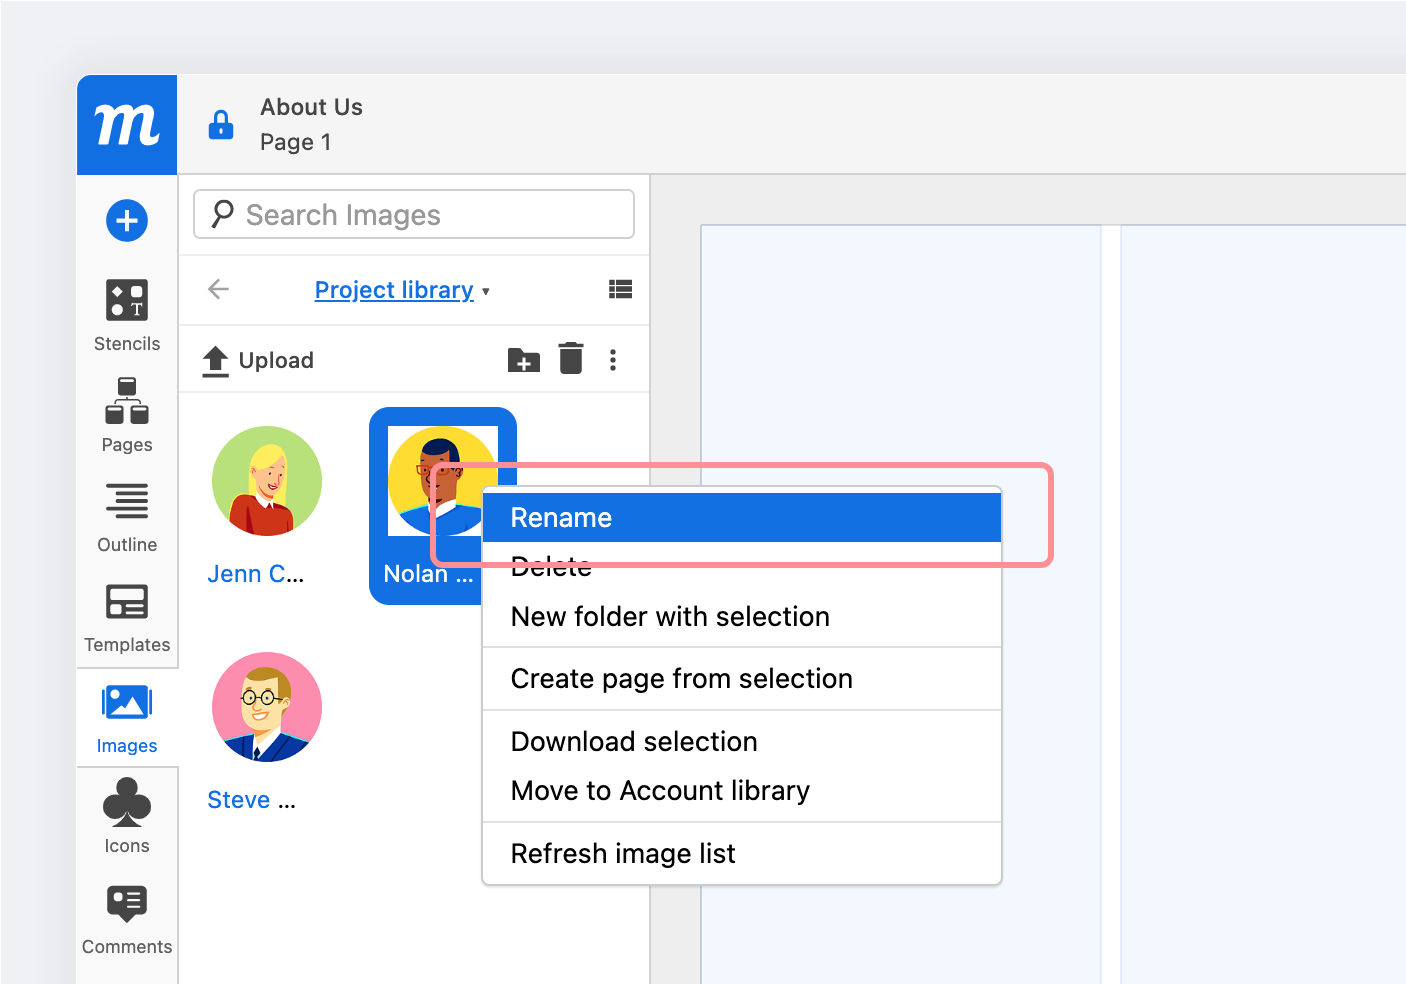
Rename an Image or Folder
In the Image Library you can rename images and folders in two ways:
- Right-click on the selected image or folder, and choose Rename from the Context Menu
- Choose Rename from the More actions menu at the top of the Image Panel
Folders and Nesting
To help manage your image assets, you can organize them into folders. To add images to folders, or to nest folders within one another, just drag and drop.
To create a new empty folder:
-
Click the Create a new folder button in the Library toolbar
or
-
Choose the New Folder option in the More options menu in the Library toolbar
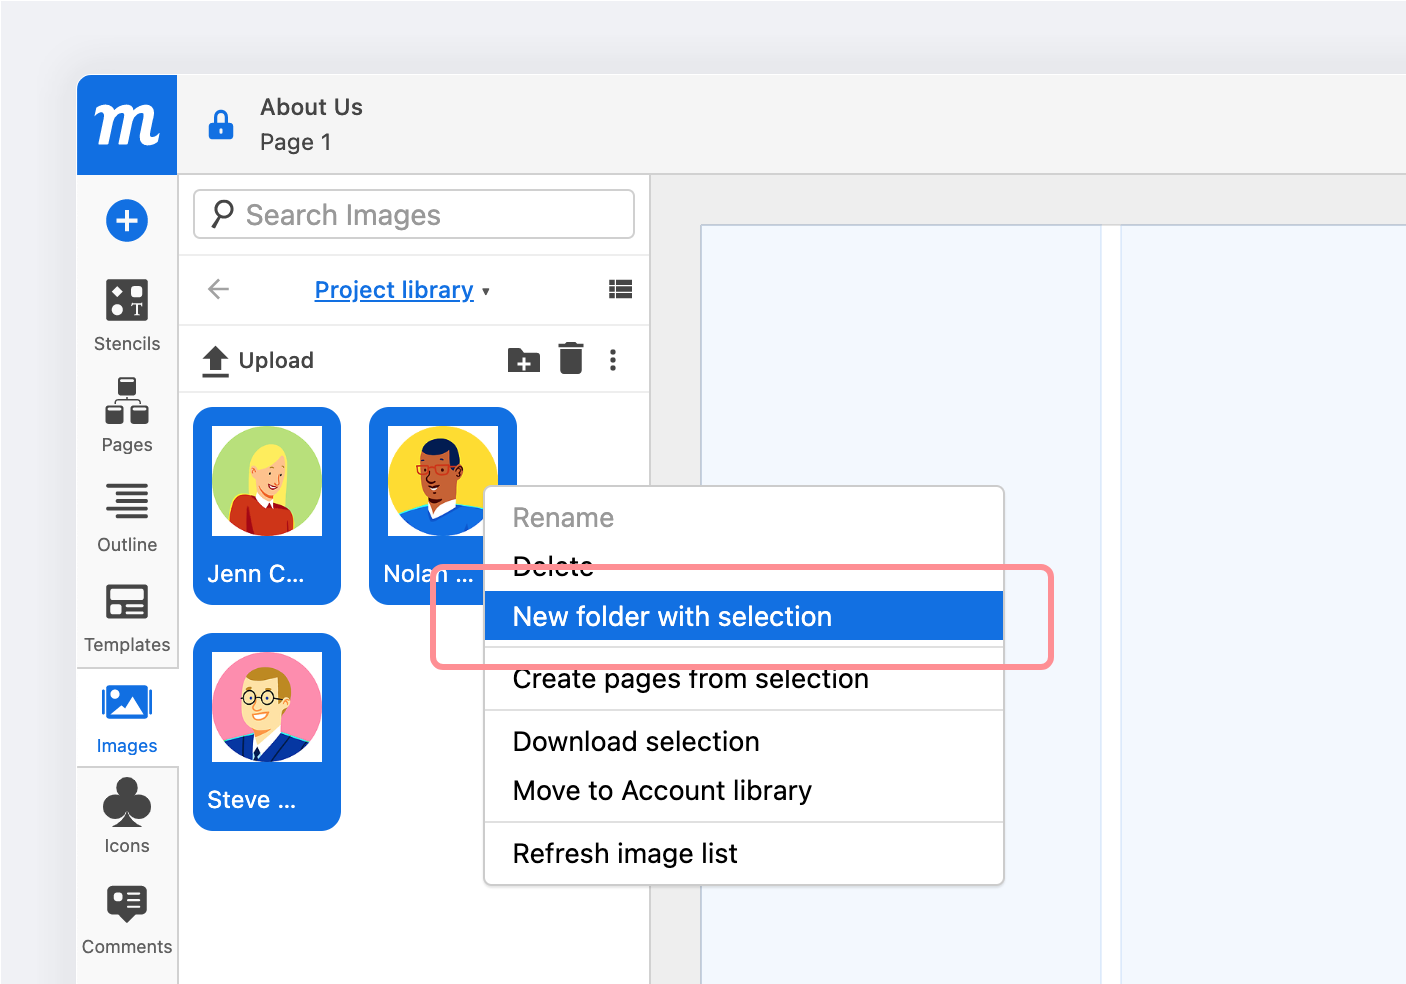
To create a folder containing a selected image or group of images:
-
Choose the New folder with selection option from the More options menu in the Library toolbar
or
-
Choose New Folder with selection from the right-click Context Menu
To remove an asset from a folder:
- Switch to Tree View
- Drag the selected asset out of the folder, and drop once the library-wide blue outline appears.
Add images to a page
From the Images Panel, you can add any image or selection of images to a page. Or, you can choose to create a new page from that selection:
To add an image to a page:
-
Drag and drop the image to a specific place on the page
or
-
Click on the image name to have it appear in the top-left corner of the page
To create a new page from a selection:
-
Right-click on your selected image(s), and choose Create page from selection from the Context Menu options
or
-
Choose Create page from selection from the More options menu in the Library toolbar
As the complexity of your project grows, renaming your images on the page, as objects, will help keep your project organized – and make it easy to identify, and distinguish between other objects on the page.
You can rename any object on the page in two ways:
- At the top of the Format Panel, you’ll find the object’s name in blue text; just click on the text to rename.
- In the Outline Panel, double-click on the object name and type in a new one.
In a later article, we’ll explain how to use the Outline Panel to Group and Organize your stencils quickly and effectively.
Duplicate images
You can only duplicate images once they’ve been added to a page.
There are two ways to duplicate an image on the page:
-
While holding down
Alt/Option, click and drag a duplicate away from the originalor
-
Ctrl/Cmd+Dcreates a duplicate on the page
Download images
If you want to quickly share image assets, you can download individual images – or image folders – directly from the Library. There are two ways to download images and folders:
- Right-click on selected images or folders, and choose Download from the Context Menu
or - Choose the Download option from the More options menu in the Library toolbar
or - Select an image on the page and click Download source from the Image Toolbar

Delete images
There are three ways to delete selected images or folders:
- Click on the Trash icon at the top of the Image Panel
- Choose Delete from the More actions menu at the top of the Image Panel
- Right-click and choose Delete from the Context Menu